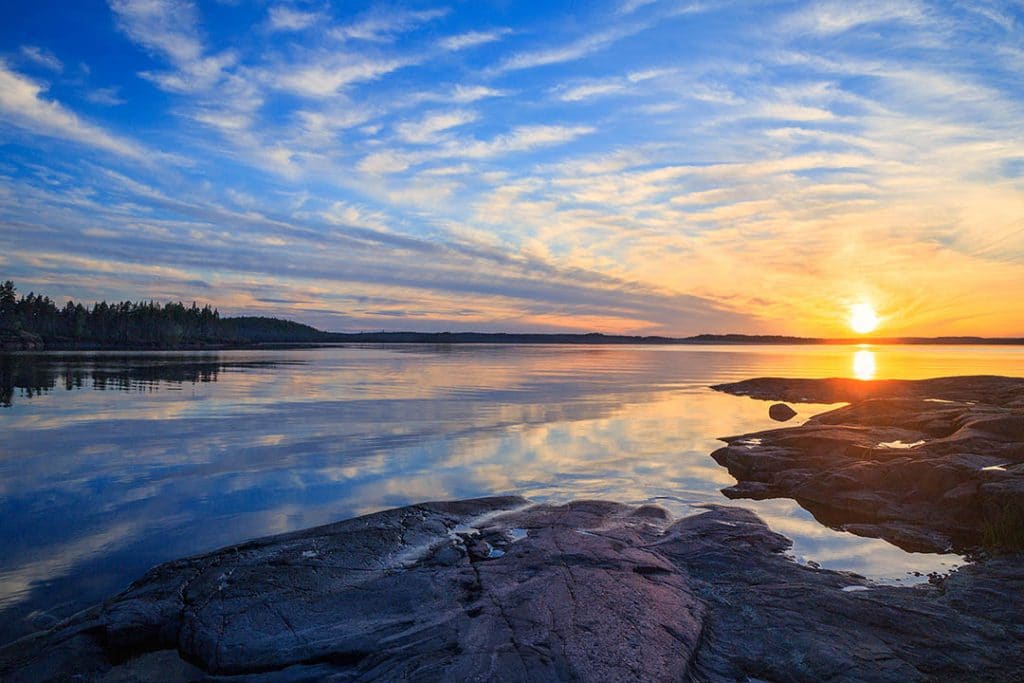
Taking night photographs can be challenging, but it's not impossible. These tips can help you improve your night photographs. These techniques can enhance your photos and make them look more professional. We'll be discussing lenses, exposure modes, and techniques in this article. This will help you to overcome the difficulties of low-light photography at night. You'll hopefully be able take the best shots possible.
Guide to low lighting photography
This comprehensive guide is perfect for amateur photographers or those who want to improve their photography skills. Although many consider night and low-light photography to be difficult and frustrating genres, this book debunks the myths surrounding the subject and will teach you how to capture incredible images in these conditions. Nina Bailey (ex-Canon staff member, lecturer) wrote this guide. It contains a wealth practical tips and techniques for dealing with extreme contrasts as well as other tricky situations. The book contains projects and assignments that enable readers to practice their skills and post their photos on a website for evaluation.
Techniques
Use the right settings to minimize blur and camera shake to take night shots. The settings you choose for your camera will help you get the best results, and it is important to make sure that you are using a tripod to ensure that you have the best exposure possible. You should use the Aperture Priority (AP) or Manual modes, which let you control all aspects of the camera's operation, except the shutter speed. These modes are safest and best for still objects, such buildings. It is important to focus manually. Auto-focus may be more convenient but manual focus will produce sharper images.
Lenses
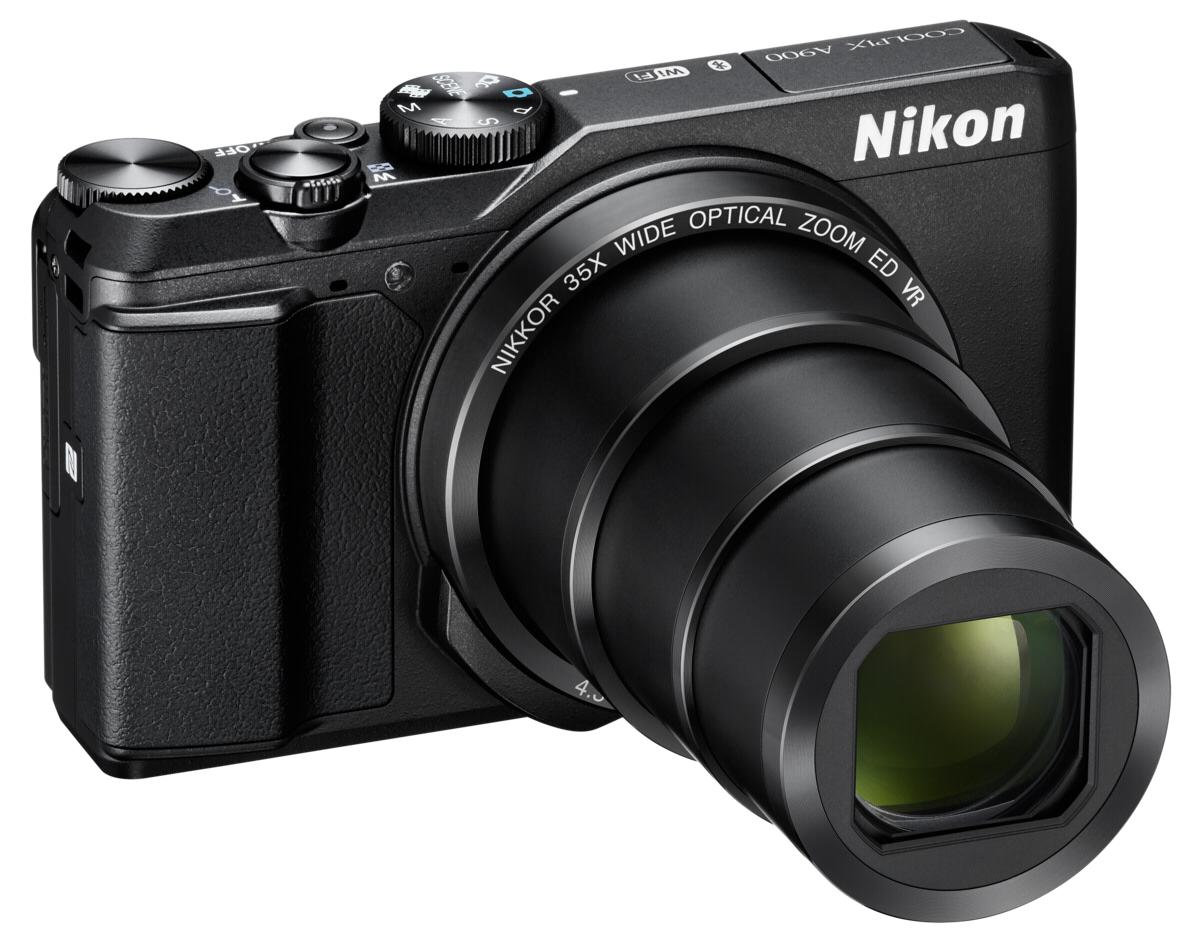
There are many lenses you can choose from, if budget constraints limit your interest in night photography. Canon EF 24-105mm IS USM is a high-quality zoom lens that's a great choice for low-light situations. Its maximum aperture of f2.8 makes it an ideal choice for low-light conditions. The image stabilization system gives you crystal-clear images. This lens can be purchased at a reasonable price.
Exposure modes
One of the best techniques for light night photography is to use a shutter priority mode. Shutter priority allows for you to control the aperture and shutter speed, creating stunning light streaks as well as beautiful landscapes. Make sure to take several test photos before you decide on the exposure that will give you the desired results. You can either use a slow shutter to create longer light trails or a fast shutter speed for colorful light trails.
Preparation
Proper safety precautions are essential when shooting at night. Take extra care to protect your camera from fogging and damage. A proper wardrobe is another crucial aspect of night photography. An unexpected weather inversion can make your evening unpleasant. Make sure you have enough clothing to keep you comfortable. These tips are sure to help you capture gorgeous night pictures. These tips can help you if you are unsure.
FAQ
How do I become an excellent photographer?
Photography is an art form that requires patience, dedication, passion and dedication. If you love photography, you'll be doing better than if only you were going after the money.
It is essential to understand how to use your camera effectively. It is important to understand the basics of composition, lighting and exposure. You also need to have a decent understanding of Photoshop.
Photography is not easy, but once you master it, there is nothing quite as satisfying as creating images that capture moments in time that would otherwise have been lost forever.
To improve your skills, you can read books and attend classes. You can also participate in competitions. This way, you will gain experience and confidence, leading to improvement. What equipment will I need?
It really depends on your type of photography. You will need a wide angle lens if you want to photograph landscapes.
You should invest in a Telephoto Lens if you love portrait photography.
When taking photos, a tripod is essential. It allows you to stand back and compose your picture without moving around.
Camera bags can be useful for carrying your camera and memory cards as well as other accessories.
A flash unit is necessary if you are using a compact camera.
A DSLR (Digital Single Lens Reflex) camera is by far the best choice for beginners who want to take professional quality photos.
DSLRs are popular because they allow you to control every photo aspect, including shutter speed, aperture, ISO sensitivity, white balance, focus, and more. There are many features available, including autofocus, self-exposure lock (auto-exposure lock), bracketing, and RAW format.
Is digital photography hard?
Digital photography isn’t as easy as you may think. To use digital photography properly, it takes patience and effort. To be able to take different types of shots, you must know what settings are appropriate. Experimenting is the best way of learning. Practice makes perfect.
What makes a good camera backpack?
Because it protects your equipment while you are traveling, choosing a camera backpack is crucial. Here are some factors to keep in mind when choosing a bag.
-
The bag should be large enough to comfortably hold your accessories and cameras. Do not buy more than you need.
-
Durability: You should look for bags made from durable materials, such as canvas, nylon, leather, and polyester. Avoid fabric and plastic bags.
-
Protection: Make certain your bag is protected against dirt, dust, moisture, and scratches
-
Organization: Sort your gear by type in order to make it easy to access the items you need. For example, put your lenses in one compartment, your memory cards in another, and your battery charger in yet another.
-
Comfort: Avoid carrying around a bulky bag when you are shooting. Instead, carry a shoulder belt. A comfortable design should have padded straps.
-
Price: Compare prices to get the best deal. Brands may offer discounts on their products, which can prove to be a plus.
-
Warranty: Check to see if the company offers a limited warranty. This will allow you to know who to contact if your bag becomes damaged.
Should I begin photography as a hobby.
Photography is a wonderful way for you to capture your memories and share them. Photography allows you to see the world from a different perspective.
If you are interested learning how to take better photos, there are plenty online resources that can help.
Consider taking classes at your local community college or art school. This gives you the opportunity to meet other photographers, who can offer valuable feedback.
What can I do to learn photography?
There are many methods to learn how you can take amazing photos. There are many options: you can buy a book, take a class or join an online community. You can also watch YouTube tutorials. There's no better way to learn the art of photography than by doing it yourself. So you can decide what goes into each picture. And you'll continue to improve as long you keep learning.
One of the best aspects about digital photography is that it doesn't require any expensive equipment. You only need a computer and an internet connection to take pictures. You can do the rest.
Here are some tips for getting started:
-
Make sure you are familiar with your camera’s manual settings.
-
Learn how to use the basic controls.
-
Take lots of photographs.
-
These should be edited.
-
Share them.
-
Keep practicing.
-
Experiment.
-
You can try different perspectives and angles.
-
Use light sources creatively.
-
Practice makes perfect.
-
Do not be afraid to fail.
-
Be patient.
-
Have fun
Which camera is best for beginners?
The best camera choice for beginners is determined by your budget, skills, and needs.
For instance, you could choose a point & shoot digital camera if your goal is to save some money. These cameras have a good quality, but they are not very versatile.
Digital Single Lens Reflex (DSLR) cameras have interchangeable lenses that allow you to shoot various types of shots. While they are more expensive than point and shoots, they offer much more flexibility.
For beginners to photography, the beginner's set is a great place for you to start. All you need is included in this package: a camera body and lens, flash, memory card, tripod and flash.
Do not forget to get extra batteries!
Statistics
- By March 2014, about 3 million were purchased monthly, about 30 percent of the peak sales total. (en.wikipedia.org)
- That's the easiest way to get blurry photos 100% of the time. (photographylife.com)
- There are people out there who will pick at flaws they can only see in 100% crops of your photos. (wikihow.com)
- The second easiest way to get blurry photos 100% of the time is to use a cheap filter on the front of your lens. (photographylife.com)
External Links
How To
How to take pictures in low lighting conditions
Low-light photography means taking photos in dimly lit areas. It requires special equipment and techniques. The main challenges are controlling exposure, white-balance, and sharpness. Two types of low-light photography exist: ambient or flash. Flash photography works best when there's enough light around. However, if there's not enough natural light around you, you'll need to use flash. A flash might be necessary if you are photographing a subject indoors and outside. Shooting at night in the moonlight hours is a good alternative to using a flash. This way, you'll get some nice colors and shadows. Another option is shooting at twilight. Twilight is the time when the sun has set and there's still daylight.
Long exposures may be something you want to explore. Long exposures enable you to take images even after your shutter has been open for several seconds. When the shutter remains closed, the camera records only light that falls on the sensor. This light will continue to fall onto your sensor after a long exposure. However, because the shutter remained shut, no new light enters the lens. The result is that there is very little movement. You can ensure clear images by turning off automatic settings such as autofocus or autoexposure. You should also adjust the ISO setting prior to you start taking photos. An ISO setting 200 gives you more control over how bright or dim your image appears. Once you are ready to click the shutter button, make sure it is fast. This will cause the shutter to close completely. Hold the shutter button down for the final second. You will prevent additional light from entering your camera by keeping the shutter button down. Once you have taken your picture, wait for a few moments before you release that shutter button. This allows the camera time to process the photo. While waiting, you can check out your photos on your computer screen. When you are happy with your photos, save them to the computer.