Photoshop's cropping tool is an essential part in photo editing. It allows you to remove unwanted objects from your photos and also straighten out crooked pictures. You can also use this tool to rotate photos, making them more attractive.
The Tools panel houses the cropping tools. First select the image to be cropped. Drag a rectangle over the image by pressing the left mouse button. As you do so, the tool displays square grids. You can save your work by clicking Save once you're done.
You can also use this tool to crop images with a wonky or distorted horizon. It makes use of content-aware technologies to fill in gaps when you rotate an image. It preserves the original background image color. In the preferences, you can change the opacity and color of the crop shield.
This cropping tool is compatible with all versions of Photoshop, even the most recent. You can crop images however small or large you wish. The Manual Dimensions option lets you crop images in a given width and/or height. It is easy to use. You can also apply presets to the tool. To apply the same crop to multiple images, you can use crop presets.
You can find the Crop tool by searching the search bar or pressing the C keyboard shortcut. You will find the crop tool on the left sidebar of your Photoshop window. If you show the Devices Bar, you can also see it. This bar is located on either side of the window. It can be accessed from the main menu by selecting Window.
You will find it much easier to use the crop tool because of its special features. When you crop an image, you have the ability to change its size and shape. You can also alter the aspect ratio of your crop marquee. You can also choose whether you want to create a vertical or horizontal image. You can also choose between a regular or spiral gridline.
The Crop tool also offers you the option to delete pixels that were cropped from the image. You can also choose to keep the resolution of the image as it was before you cropped it. Depending on the crop settings, you can also use the crop tool to make the image smaller or larger.
The crop tool allows you to choose from many different overlays. These include the spiral gridlines as well as the rule-of-thirds gridlines. It can also assist you with the triangular, golden spiral, and triangular compositions. You can also adjust the color and opacity for the crop shield.
Photoshop offers many picture-altering options. If you're not sure which of the tools you should use, you can learn more about these in the "How to Use Photoshop" section of the online tutorial.
FAQ
How can I improve my photography skills on my phone?
You don't need expensive equipment to take great photos! Amazing images are possible with just a smartphone.
Just need to learn the basics of how to use it all.
There are many apps to help you edit and share your photos on both Android and iOS.
Here are five tips for taking better pictures.
-
Set Up Your Camera App. Your camera app should come pre-installed on your device. If not, download it from Google Play or Apple's App Store.
-
Use effects and filters. You can alter the appearance and feel of your photo using filters and effects.
-
Adjust Exposure. You can adjust the exposure to control the brightness of your photo.
-
Take the right lighting. It is easier to see details when you shoot in bright light. You can capture highlights and shadows in low-light conditions.
-
Photograph People. It is a great way to share your love with others by taking pictures of them.
Check out this article to learn how to take better pictures with your smartphone: 5 Tips To Improve Photography Skills
Why use Light Room to enhance your pictures?
Start early to get the best photos possible for your project. It is always better to take as many photos as you can and then choose the best.
Lightroom allows you to do this by letting you see how different settings affect each photo. These settings can be changed on the fly, without needing to return to Photoshop. This allows you to quickly test what looks great and what does not.
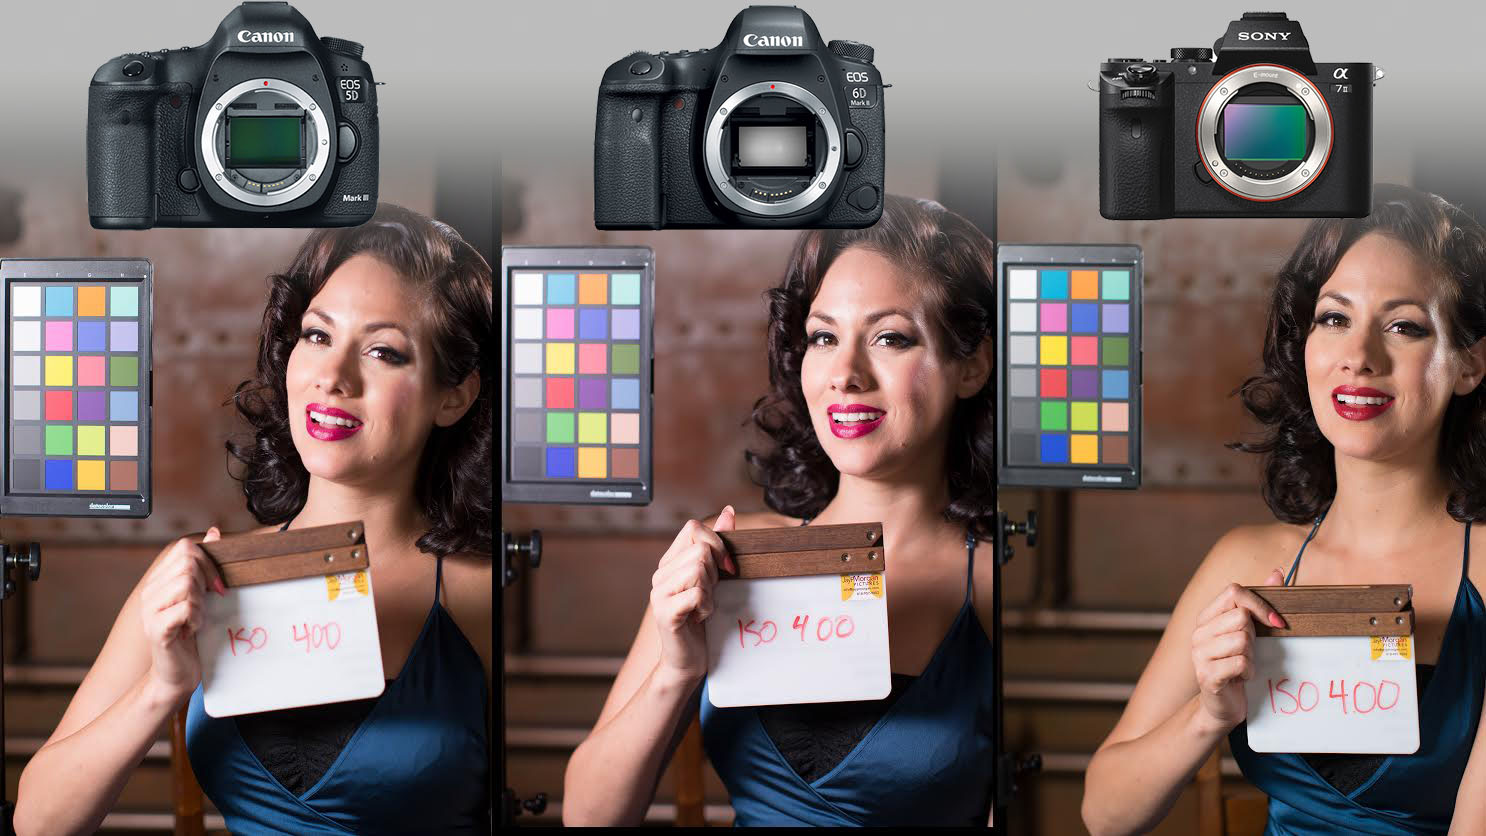
Which is the best camera to use for beginners?
The best camera to use for beginners is dependent on your needs, budget, and skill level.
A point-and-shoot camera is a good option if you want to save money. These cameras have a good quality, but they are not very versatile.
Digital Single Lens Reflex (DSLR) cameras have interchangeable lenses that allow you to shoot various types of shots. These lenses are usually more expensive than point-and shoots, but offer greater flexibility.
For beginners to photography, the beginner's set is a great place for you to start. The package includes everything you need: a camera, lens, memory cards, tripod, flash and a camera body.
Also, don't forget about extra batteries!
What can I do to learn photography?
There are many methods to learn how you can take amazing photos. You have many options. You could purchase a book or attend a class. Or you could join an online group. You can't go wrong with doing it yourself if you are serious about mastering the art of photographing. By doing it yourself, you are in complete control of what goes into each shot. You will continue to learn and improve, so long as you are willing to keep learning.
In fact, one of the best things about digital photography is that you don't even need expensive equipment. All you need to get started is an internet-connected computer and a digital camera. You can do the rest.
Here are some tips for getting started:
-
Learn how to use the manual settings on your camera.
-
Learn the basics of controlling your computer.
-
Take lots of photos.
-
Modify them.
-
These should be shared.
-
Keep practicing.
-
Experiment.
-
Explore different perspectives and angles.
-
Use light sources creatively.
-
Practice makes perfect.
-
Be willing to fail.
-
Be patient.
-
Have fun
What makes a camera bag good?
It is essential to choose a camera bag that protects your gear when you travel. These are some important things to keep in mind as you choose a bag.
-
You should choose a large bag that can hold your accessories and camera comfortably. Don't purchase more than you are going to use.
-
Durability: Buy bags made of durable materials like canvas, nylon or leather. Avoid using plastic bags or fabric bags.
-
Protection: Make your bag waterproof against dirt, moisture and scratches
-
Organization: Consider organizing your gear by type to easily access your needs. You could, for example, place your lenses in one area, your memory card in another and your battery charge in yet another.
-
Comfort: Use a shoulder strap to carry your camera instead of a bag. A comfortable design should have padded straps.
-
Price: Look around for the best price. Discounts are sometimes offered by some brands, which can be a bonus.
-
Warranty: Find out whether the company offers a warranty. If your bag is damaged or lost, this will let you know who to contact.
Statistics
- There are people out there who will pick at flaws they can only see in 100% crops of your photos. (wikihow.com)
- That's the easiest way to get blurry photos 100% of the time. (photographylife.com)
- While I cannot prove that all of those spots were not sensor dust, the photo was taken during a heavy snowstorm…so I guess that 99.8% of the spots are snowflakes. (bhphotovideo.com)
- In this case, 100% of readers who voted found the article helpful, earning it our reader-approved status. (wikihow.com)
External Links
How To
How to photograph in low light conditions
Low-light photography means taking photos in dimly lit areas. It requires special equipment. The key challenges are in controlling exposure, white balanced, and sharpness. There are two kinds of low light photography. Flash photography works well when there is sufficient light around you. But if there isn't enough natural light, then you'll have to use a flash. You might need a flash if your subject is outside but indoors. Try shooting at night, during the moonlit hours, if you don't need a flash. You'll be able to capture beautiful colors and shadows this way. Another option is taking photos at twilight. Twilight is when the sun sets but there's still daylight.
Long exposures may be something you want to explore. Long exposures enable you to take images even after your shutter has been open for several seconds. The camera records only light falling on the sensor if it is kept closed. The light that falls onto the sensor during a long exposure continues to be recorded. However, because the shutter remained shut, no new light enters the lens. Therefore, there is very little movement. Turn off autofocus and autoexposure to ensure you get clear images. Adjust the ISO setting before you start to shoot. A 200 ISO setting gives you greater control over how dark or bright your image looks. The shutter button should be pressed quickly when you are ready to take the photo. This will bring the shutter completely to a close. Next, hold the shutter button down until the end. You will prevent additional light from entering your camera by keeping the shutter button down. Once you take the shot, wait a while before you release the shutter. This allows the camera's to process the image. While waiting, you can check out your photos on your computer screen. Once you're satisfied with them, save them to your computer.