Northern Lights photographs captures the beauty of this phenomena and the breathtaking colors of night sky waves. These photos are stunning and should be treasured forever. Here are some tips to capture the most beautiful photos of the northern light: Set your shutter speed and whitebalance according to the speed at which they move, and get a great shot of the green channel.
Set shutter speed to match northern lights movement speed
The best way to capture the Northern Lights is to use a camera that allows for you to adjust your shutter speed in accordance with the speed at which the lights move. It is essential to experiment with the settings on your camera in order to capture this dynamic phenomenon. Fortunately, the process is relatively straightforward and you can start by using the base settings of your camera. You should set your aperture at f/2.8, and K-Mode to adjust the white balance.
You should charge your batteries prior to going on the Northern Lights Photo Expedition. Make sure your memory card has enough space for your photos. Also, it is a good idea not to forget to bring another set of batteries. Batteries tend to be less efficient in colder weather. For best results, you should use a tripod while taking photos of the Northern Lights. You should also use a shutter delay of two to five seconds to minimize camera vibrations and blurred images.
Avoid overexposing the green channels when photographing the Northern Lights. Overexposure of the Green Channel will cause loss of detail. You should also avoid shooting in the dark. You should also make sure that you have a good foreground in your picture so that your images have an interesting composition.
The white balance can be changed
It is important to adjust your white balance when taking photos of the northern light. Your photos will have realistic colours if you adjust the white balance. The white balance should match the lighting conditions you are using. Set the white balance to sunlight if it is sunny. The Kelvin range of 2800-4000 Kelvin is the best setting to ensure that the colours in your shot are natural. Semi-professional DSLR cameras have a manual setting for white balance.
Shooting in RAW will give you the best Northern Lights photos. This will allow you to capture more information in the shadows or highlights. Your camera will also produce less noise if you shoot in long exposure. If the lighting is strong, use a tripod and set your shutter delay to two or five seconds. This will prevent camera vibrations.
When shooting northern lights, you should set your white balance between 3500K and 4000K. To increase brightness, you may want to increase shutter speed. This can be used to prevent overexposure of green channels, which can ruin color and detail.
A good shot of green channel
To get a good shot of the green channel in your northern light photos, there are a few steps you should follow. Remove the UV filter first. After that, switch to manual focal and adjust your settings according the aurora intensity. You should also check your RGB histogram for green colors in your images. If you have one, be sure to use it.
The next step is to pick a shutterspeed that will allow you long exposures and not expose the highlights too much. While using the largest aperture of your lens will enable you to capture the northern lights clearly, you should limit the shutter speed to between 10 and fifteen seconds. Longer exposures will cause the northern lights to be blurry and will not give you a clear image.
Choosing the right camera and setting is another important part of getting a good northern lights photo. ISO will determine the exposure. However, if using a tripod you might be able to lower the ISO. You should also keep your batteries in a safe place. A warm battery lasts longer than a cold one.
FAQ
Is photography a talent?
Photography is not a talent but an art form that requires practice, training, and experience. You need to practice for years before you can master any part of the craft.
You need to plan how you will make money in photography.
This is possible by understanding the client type you wish to attract, and then finding ways to reach them.
You must know their identity and what they want. You need to be able communicate clearly and persuasively in order to persuade your clients to purchase your services.
This means that you will need to be well-organized and prepared when you meet potential clients.
To be ready to meet potential customers, you'll need to build a portfolio. This can be done electronically using software programs or printed on paper.
Once you have compiled a portfolio of work, you should start looking for opportunities to display it. You could approach businesses directly or post ads online.
What equipment is necessary to begin digital photography
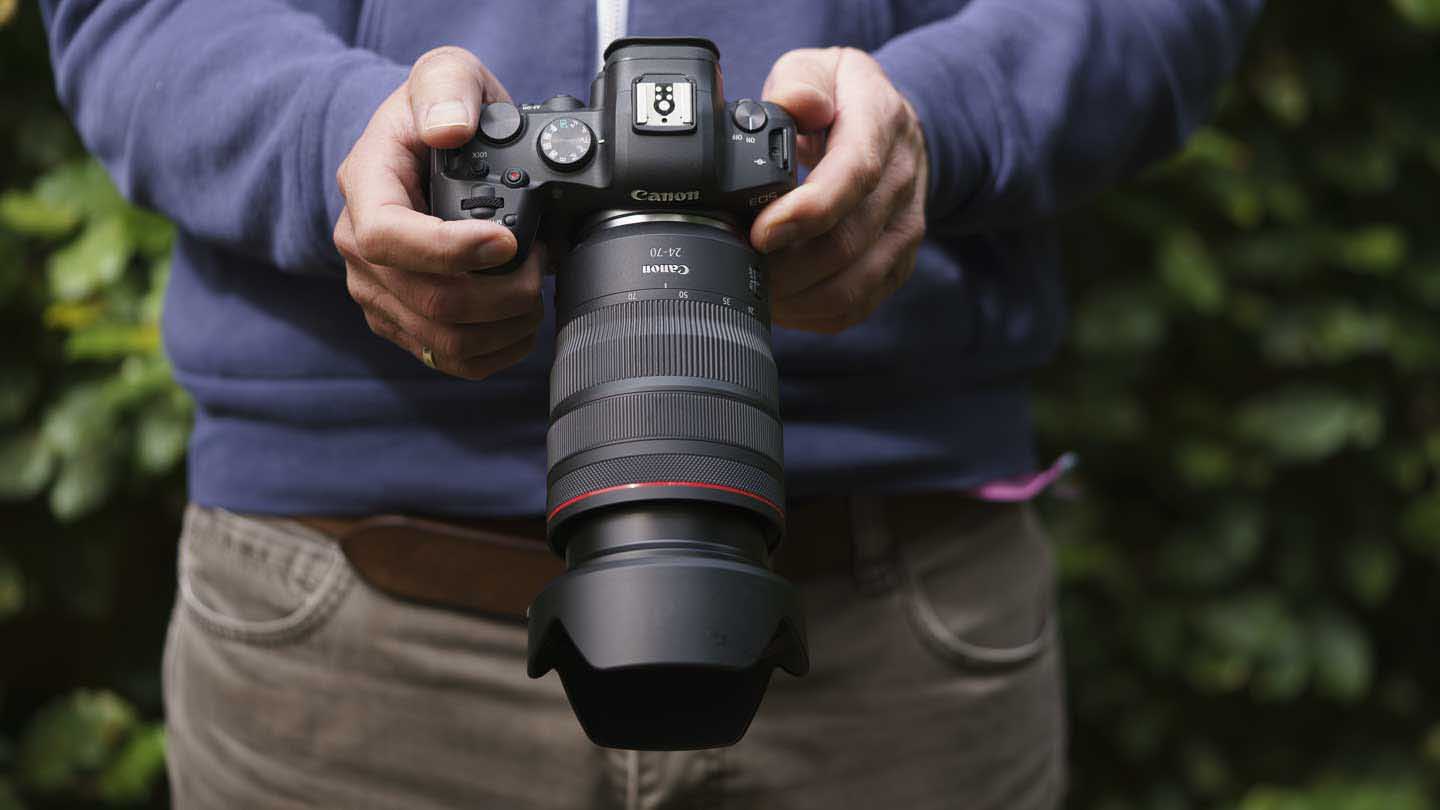
You should first consider what kind of camera you want when you begin digital photography. There are many options available, including DSLRs (digital single-lens reflex cameras), compact point-and-shoot cameras, camcorders and smartphones. Each one has its advantages and disadvantages. DSLR cameras, however, are larger and heavier than most other types of cameras. Point-and–shoot cameras can be smaller and lighter than DSLR cameras, and they often have automatic settings that allow for special situations. Camcorders are capable of recording excellent video quality and can also be used to take still photos. Smartphones are light and portable and can be carried around easily.
Once you've made a decision about the type and model of camera you want, then you must decide whether you want to buy it new or used. You can find affordable used cameras, particularly if you bought them in the last few years. New models generally cost more because manufacturers spend large amounts of money developing new technology.
Next, you will need lenses. The quality of your photos is directly affected by the lens. These lenses allow you control the focal length of your lens, which allows you to zoom into the scene and not lose focus. Some lenses come with built-in flash units while others need external flash units. Many brands offer many lenses with unique characteristics.
Finally, you will need to invest in memory cards. Memory cards store photos taken by your camera. The size of your memory card will depend on the number of images it holds. It could store hundreds of thousands or even millions of pictures. You will need multiple memory card if you plan on taking many photos.
Do I want to start taking photos as a hobby?
Photography is an excellent way to capture memories and share them with friends and family. It allows you to discover more about the world.
If you are interested in learning how to take better pictures, there are plenty of resources available online to help you do just that.
Consider taking classes at your local community college or art school. This gives you the opportunity to meet other photographers, who can offer valuable feedback.
Do I Need A Tripod?
This is one of those common questions. A tripod isn’t always needed, but it can be very useful.
It helps you keep your camera steady while taking pictures at slow shutter speeds. A tripod can make all the difference when you're photographing landscapes or other stationary subjects.
However, a tripod can blurriness if you are photographing moving subjects, such as people or athletes. What are the best ways to determine which situations you need a tripod for?
A tripod is an essential tool for photographing fast-moving subjects or stationary objects. Examples include:
-
Sports
-
People
-
Landscapes
-
Close-ups
-
Macro shots
Do this test to see if you are unsure if you require a tripod. Hold your camera still and look through the viewfinder. A tripod is necessary if you notice blurred lines or movement.
A tripod won't make any difference if there is no blurring.
However, if you do decide to invest in a tripod, here are some tips to keep in mind.
-
Make sure your tripod has smooth legs. This helps to prevent vibrations from shaking the camera.
-
Use a sturdy tripod. Some tripods can be made out of plastic but they are not very durable. You should opt for a steel tripod.
-
Consider purchasing a remote release. This lets you control your camera remotely. You can set it to fire the shutter once you press the button automatically.
-
A tripod that can rotate 360 degrees is a good choice. This makes it easier to position your camera vertically or horizontally.
-
Tripods are expensive. Expect to pay $100-200. But, you will get a lot for your buck.
-
Accessories such as filters and memory cards should be considered.
-
Before shopping online, be sure to visit your local shop. Many retailers offer free shipping.
-
Read reviews to determine what customers think about a particular product.
-
Ask family and friends who have similar products.
-
Visit forums and message boards to learn about customer experiences.
-
You can search online for reviews from other users.
-
Amazon.com allows you to compare prices, and receive customer feedback.
-
See photo galleries to see some of the creative uses for tripods by photographers.
How do I look good in pictures?
It is best to take your own photos to ensure that you look good. You will learn how to pose, which angles are flattering and which are not. Learn how to use lighting, props and other tools to enhance your natural beauty.
This course will teach you how to choose clothing that fits well, make-up that looks great, and hairstyles that flatter your face shape.
If you're unhappy with the result, we'll show how to retouch your images in Photoshop and other editing programs.
Do yourself a favor and take some self portraits!
Statistics
- In this case, 100% of readers who voted found the article helpful, earning it our reader-approved status. (wikihow.com)
- The second easiest way to get blurry photos 100% of the time is to use a cheap filter on the front of your lens. (photographylife.com)
- That's the easiest way to get blurry photos 100% of the time. (photographylife.com)
- Get 40% off Adobe Creative Cloud(opens in new tab) (creativebloq.com)
External Links
How To
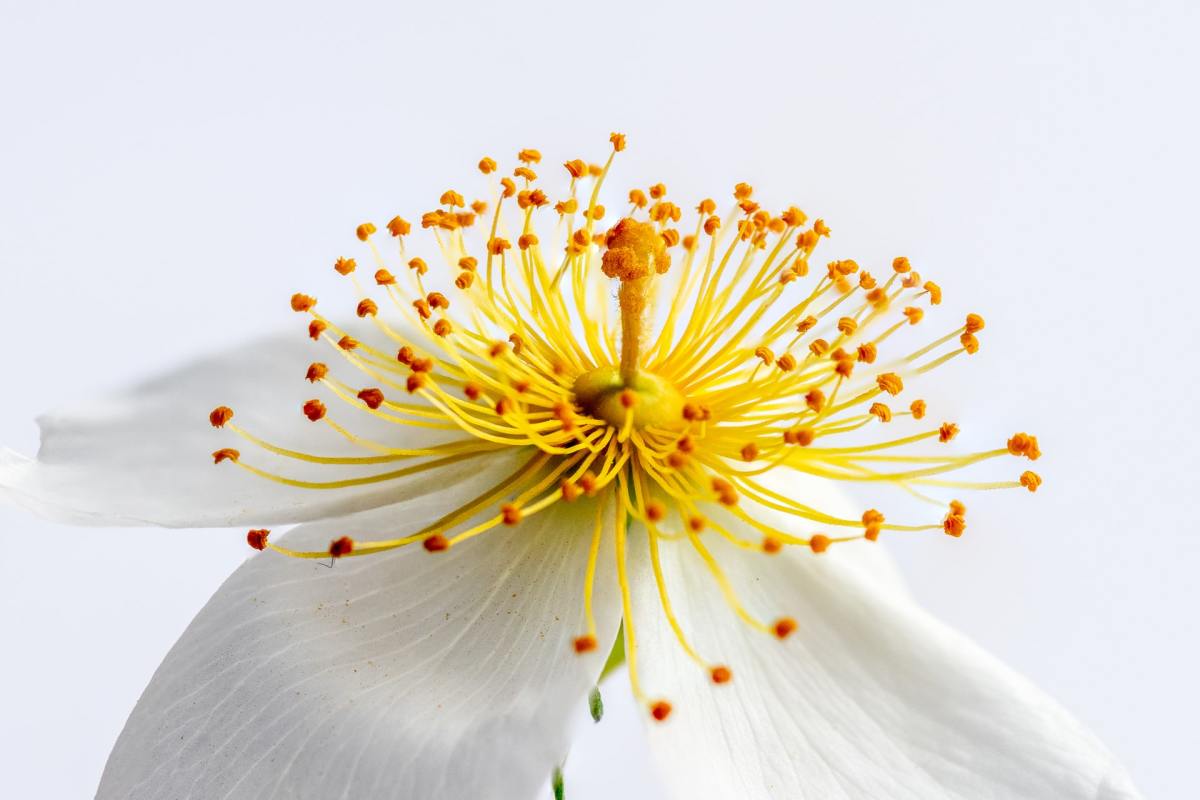
How to take macro shots in photography
Macro photography refers to the ability capture small objects like flowers, insects, or people close up. Macro comes from the Greek makros (makros) which means large. You can capture close-up shots with a lens that has a focal length of more than 50mm.
A good macro lens must have a long work distance and a fast aperture so that sharp images can be captured without having to move around. It is important to avoid motion while taking photos. Anything that moves during exposure may blur your image.
Here are some tips to take great macro photos:
-
Use a tripod. You can use a tripod if you don't own one. This will reduce the chance that you move when trying to take photos.
-
The right lighting is important. Macro lenses usually come with built in light filters. But if you don’t, you can always buy one. This prevents excessive exposure.
-
Be patient! Shooting macros takes practice. Sometimes you may only see a tiny bug or flower, but it's worth it to keep shooting until you catch it.
-
Shoot in RAW format. RAW files can store more information than standard JPEGs. RAW files are best for editing later because you can make adjustments like cropping and color correction after the fact.
-
Do not forget to add the background. The background can be as important as the foreground. Try to include it in your photo.
-
Keep learning.