These are some basic photography tips that will help you take great photos of the nightsky. There are many things that you should know about photography, including gear and exposure. Keep reading for more. In this article I will cover some of the most important aspects and techniques of night photography. You will be able to capture stunning night sky images! Make sure you have the right camera, and follow the steps below to get some amazing photos!
Guide to taking nightsky pictures
If you ever wanted to capture amazing images of the night skies, but weren't sure where to start then this guide is for your. Astrophotography is the same thing as landscape photography. Exposure time, steady camera, moon phase are the basic principles. These are the basics you should know before you attempt to photograph the night skies. For more tips and tricks, read on.
Gear required
A camera is the first piece of gear you'll require. You'll also need a tripod, an led headlamp, an intervalometer, and other equipment. This is a list of essential gear for night sky photography. Here are some tips to get the most from your equipment.
Composition
No matter what type of image you take of the night skies, whether it's of the Milky Way oder an alien spaceship - the composition of your photo will impact how good your result. While plain shots of stars aren't particularly interesting, using foreground objects can increase the impact of your shot. A well-composed night sky image will stand alone and impress viewers. In this article, we'll go over some of the basic techniques that you can use to make your night sky images stand out.
Exposure
Exposure is the most important thing to think about when you are taking nightsky photos. Exposure can make or break your photos. If you want to capture the Milky Way, the key is to get as dark as possible. Check your local light pollution map for the best night sky. Next, adjust your camera settings for light pollution changes.

A tripod
Using a tripod will improve the stability of your images, especially if you plan on taking long exposures. Make sure you only use compatible lenses for your camera. For example, a Canon camera needs a lens that is compatible with the Nikon AF-S system. To reduce the chance of star coma and chromatic aberrations, use a lens that is two to four stops less than the maximum opening. The camera's sensitivity will depend on various factors, including amount of light pollution, moonlight, and time of day. You can check the results to find the correct level of sensitivity.
FAQ
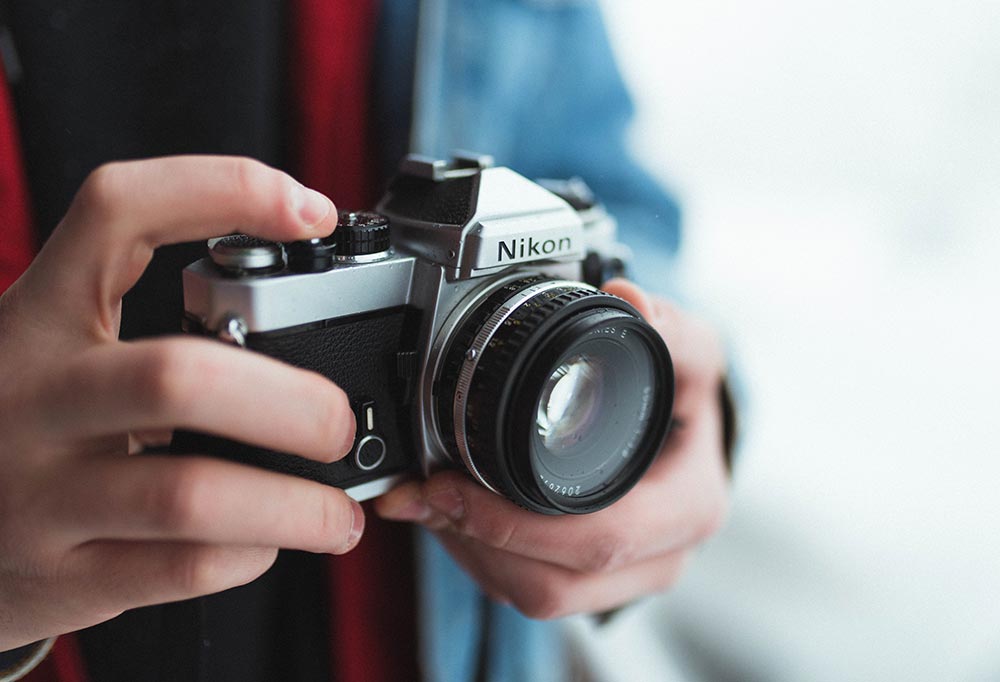
What equipment is required to start digital photography?
When you start out in digital photography, the first thing to consider is which type of camera you will use. There are many choices, including DSLRs (digital one-lens reflex cameras), point and shoot compact cameras, camcorders, smartphones, and camcorders. Each model has its own unique features and advantages. DSLR cameras can produce high-quality images, but they are usually heavier and more bulky than other types. Point-and–shoot cameras can be smaller and lighter than DSLR cameras, and they often have automatic settings that allow for special situations. Camcorders are capable of recording excellent video quality and can also be used to take still photos. Smartphones can be small and lightweight and are easy to transport.
Once you've decided on the type of camera you'd like to buy, you will need to decide whether you would rather buy a used or new one. Used cameras can be found at reasonable prices, especially if they were purchased within the last few years. Because of the large amount of money that manufacturers spend on new technology, older models are more expensive.
Next, you need to purchase lenses. Lenses play a key role in determining the quality of your photographs. They enable you to adjust the focal length of the lens so that you can zoom into the scene with no loss of focus. Some lenses have built-in flash units, while others require external flash units. A wide range of lenses is available from various brands, each offering unique characteristics.
You will also need memory cards. Memory cards store pictures taken by your camera. It can hold hundreds to thousands of photos, depending on how big your card is. Multiple memory cards are required if you intend to take many pictures.
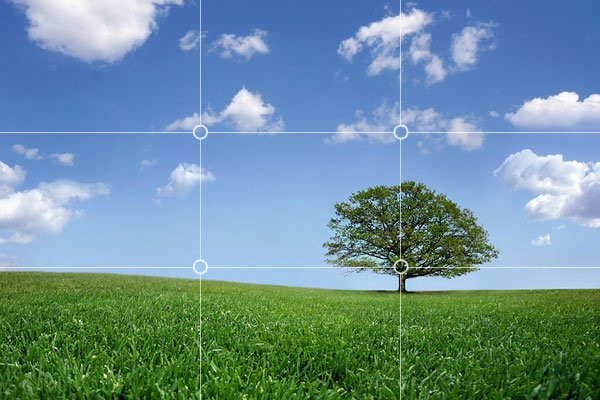
What is rule of thirds for photography?
The rule of thirds can be used to create beautiful compositions, without having to use complicated camera settings. It divides your image in nine equal parts, vertically and horizontally. This creates three main areas for your subject to appear. These areas are the top, middle and bottom. These areas can serve as guides to help you position your subject within your frame.
You can avoid placing important elements too close together, or too far apart, by using the rule of thirds. You might not have enough space between them for a strong visual impact if you put them close together. If you put them too far apart, they might lose focus because there isn't much room around them.
How do I look good in pictures?
Photographing yourself is the best way to make sure you look professional in your photos. You'll learn how you pose for the camera and which angles are best. Additionally, you'll learn how to use lighting and props in order to enhance your natural beauty.
You'll discover how to choose clothes that fit well, make-up that looks great on you, and hairstyles that suit your face shape and style.
If you are not happy with your results, we will show you how you can retouch them using Photoshop and other editing tools.
Take some self-portraits.
How can I learn photography by myself?
There are many different ways to learn how take great photos. You have many options. You could purchase a book or attend a class. Or you could join an online group. But if you want to master the art of taking pictures, there's nothing better than doing it yourself! By doing it yourself, you are in complete control of what goes into each shot. As long as you continue learning, you will always be improving.
The best thing about digital photography? You don't need any expensive equipment. All you need to get started is an internet-connected computer and a digital camera. The rest is up to you.
Here are some tips to get your feet wet:
-
Make sure you are familiar with your camera’s manual settings.
-
Learn how to use the controls.
-
Take lots of photographs.
-
Modify them.
-
Please share them.
-
Keep practicing.
-
Experiment.
-
Take a look at the world from different perspectives.
-
Use light sources creatively.
-
Practice makes perfect.
-
Never be afraid to fail.
-
Be patient.
-
Have fun
What makes a good camera backpack?
It is essential to choose a camera bag that protects your gear when you travel. Consider these factors when selecting a bag.
-
Size: Choose a big bag to hold your camera and accessories comfortably. You shouldn't buy more than what you actually need.
-
Durability: Bags made of durable materials such leather, canvas and nylon are best. Avoid fabric and plastic bags.
-
Protection: Make certain your bag is protected against dirt, dust, moisture, and scratches
-
Organization: Sort your gear by type in order to make it easy to access the items you need. So, you can place your lenses in one box, your memory cards in another and your battery charger in a third.
-
Comfort: Use a shoulder strap to carry your camera instead of a bag. A comfortable design should have padded straps.
-
Price: Compare prices to get the best deal. Some brands sell their products at discount prices, which can be an added bonus.
-
Warranty: Find out whether the company offers a warranty. This will allow you to know who to contact if your bag becomes damaged.
Is digital photography hard?
Digital Photography is not as easy as you think. Learning how to properly use the tools takes effort and time. You must know the right settings for different types shots. Learning by doing is the best way to learn. Practice makes perfect.
Statistics
- Get 40% off Adobe Creative Cloud(opens in new tab) (creativebloq.com)
- By March 2014, about 3 million were purchased monthly, about 30 percent of the peak sales total. (en.wikipedia.org)
- In this case, 100% of readers who voted found the article helpful, earning it our reader-approved status. (wikihow.com)
- The second easiest way to get blurry photos 100% of the time is to use a cheap filter on the front of your lens. (photographylife.com)
External Links
How To
How to take photos in low light conditions
Low-light photography means taking photos in dimly lit areas. It requires special equipment. The key challenges are in controlling exposure, white balanced, and sharpness. Two types of low-light photography exist: ambient or flash. Flash photography works best when there is enough lighting around. A flash is required if there isn’t enough light. A flash might be necessary if you are photographing a subject indoors and outside. A flash is not necessary if you aren't interested in shooting at night with the moonlit hours. This will allow you to get nice shadows and colors. Another option is to capture at twilight. Twilight occurs when there is still daylight but the sun has set.
You might also be interested in long exposures. Long exposures let you capture images even after the shutter has been open several minutes. The shutter must be closed so that the camera only records light that hits the sensor. The light that falls onto the sensor during a long exposure continues to be recorded. Because the shutter was closed, no new light enters your lens. As a result, you see very little movement. To ensure clear images, disable any autofocus and exposure settings. You should also adjust the ISO setting prior to you start taking photos. An ISO setting 200 gives you more control over how bright or dim your image appears. Once you are ready to click the shutter button, make sure it is fast. The shutter will close completely. Hold the shutter button down for the final second. To prevent additional light entering the camera, hold the shutter button down. Once you have taken your picture, wait for a few moments before you release that shutter button. This allows the camera to process the image. While the image is processing, you can see your photos on your computer monitor. Save them once you are satisfied with them.