A blurry photo is a common issue for many photographers. There are many causes for blur, including camera shake, lens aberrations, and motion blur. However, there are some things you can do to improve the blur in your photo.
Motion blur
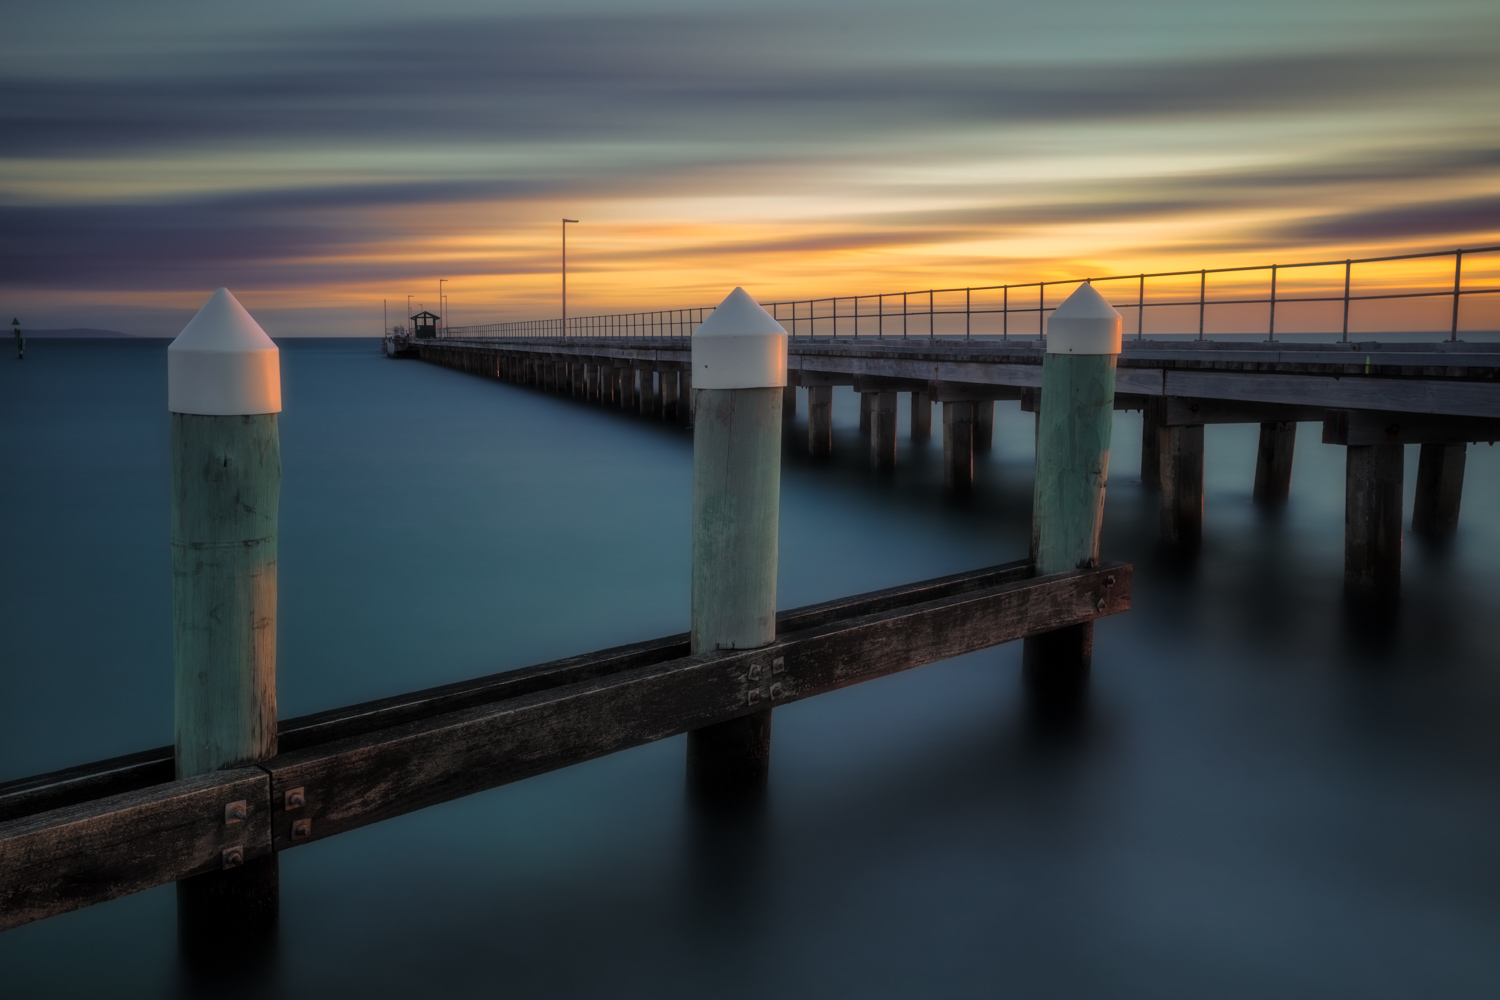
Motion blur can give photos an almost mystical quality. This is especially true if you use it in conjunction with a pan technique. A panning technique is a technique in which the camera follows a moving subject while maintaining a steady frame.
This is best achieved by using a slow shutter speed. This gives the camera more time absorb light. The photo will become too bright if it is too bright.
A neutral density filter can also be used. This filter reduces light coming into the lens equally. This filter reduces light entering the camera while increasing your aperture.
Also, you will need to play with the settings of your camera. These settings will change depending on where you are. You should use an ISO of 100 or lower if you're taking photos in dimly lit rooms. Grainy photos may result from using ISOs higher than 100.
Lens aberrations
One of the biggest problems that can affect image quality is optical aberrations. They cause blurred images as well as loss of contrast. If the image does not have proper corrections, vital image data can be lost.
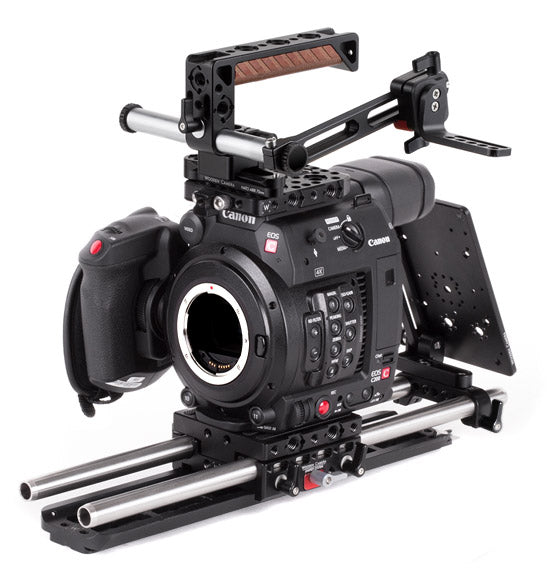
Lenses can be used for filmmaking or photography. It is important that they work as advertised. High-tech camera lenses contain many different elements. They are not perfect, and have weaknesses.
Chromatic aberration results from light entering a lens at different wavelengths. The light then disperses through different mediums. These wavelengths have different degrees refraction. This means that different parts of the lenses will reflect at different angles. The result is usually blurry edges with sharper images in the middle. These aberrations can be corrected by an optical design.
Shutter speed
You can create some amazing effects by using a fast shutter speed to take a photo. Fast shutter speeds will also freeze a moving subject's movement. A shutter speed of at most 1/500 seconds is sufficient to freeze a bird flying.
A shutter speed of 1/focal length is sufficient, according to the old rule. Even though this rule is generally true, it may not be the best for longer focal length lenses. In addition to a fast shutter speed, you may want to consider using a tripod to avoid camera shake. This is especially important when taking photos with moving subjects.
The shutter will also help to increase your image's exposure. A faster shutter speed means that more light is able to reach the film. This will result in a brighter image.
Depth of field
The use of shallow depths of field in your photographs can help you achieve a soft, romantic look. It's a great tool for portraits and close-ups. It can be used for landscapes, group shots, and vacations.
Depth of Field is the distance between two elements within a scene that are in acceptable sharpness. Shallow depth of field is commonly used in portrait photography, but can also be used for macro photography. It helps you to concentrate your attention on a particular subject while blurring out distracting items.
You can achieve shallow depth of focus by using a wide aperture or large f-stop. Wide apertures permit more light to be reflected onto the sensor. The smaller the f-stop, the less depth of field.
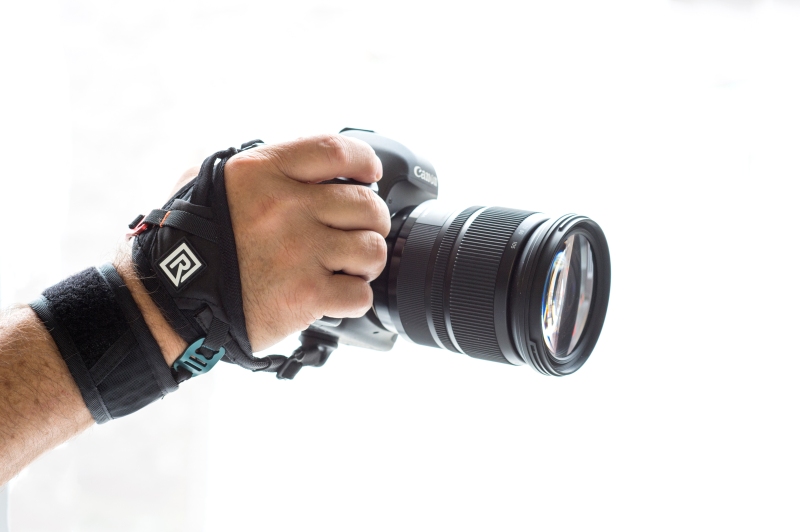
Camera shake
Blurred photos can cause confusion. Blurred photos can be caused by many things. One of the most common is camera shake. You might end up with a blurred image because you don't know what to do about camera shake.
A tripod can be used to stop camera shake. A tripod is not necessary if your camera doesn't have an image stabilization option. You can also hold the camera close by your body.
The blurry result will occur if your fingers shake during the photo-taking process. In addition, you will need to adjust your focus to ensure that everything in the photo is in focus. While a tripod can prevent shake, it is still necessary to set the shutter speed slower than the subject's movement.
FAQ
What makes an excellent camera bag?
Because it protects your equipment while you are traveling, choosing a camera backpack is crucial. These are some important things to keep in mind as you choose a bag.
-
Sizing: A large bag will hold your camera and other accessories. Do not buy more than you need.
-
Durability: Choose bags made from durable materials like leather, canvas or nylon. Avoid plastic or fabric bags.
-
Protection: Make sure that your bag offers protection against dirt, moisture, and scratches
-
Organization: Consider organizing your gear by type to easily access your needs. Your lenses, memory cards, and battery charger can be placed in different compartments.
-
Comfort: Use a shoulder strap to carry your camera instead of a bag. You should also look for a design that is comfortable and has padded straps.
-
Price: Check around to find the best prices. You may find some brands that sell their products at a discount price, which is a great bonus.
-
Warranty: Find out whether the company offers a warranty. You will know who to call if your bag gets damaged.
How can I improve the quality of my photos on my phone
You don't need expensive equipment to take great photos! Amazing photos can be taken with your smartphone.
Just need to learn the basics of how to use it all.
There are many apps for iOS and Android devices that can edit and share pictures.
Here are five tips for taking better pictures.
-
Set Up Your Camera App. The camera app should be pre-installed on the device. If not, download it from Google Play or Apple's App Store.
-
Use effects and filters. You can change the look of your photo with filters and effects without even touching it.
-
Adjust the Exposure. You can control the brightness by changing your exposure.
-
Make sure you are shooting in the right light. It is easier to see details when you shoot in bright light. Shooting in low light conditions lets you capture the shadows and highlights in your image.
-
Take Pictures Of People. You can share the things that you love most by taking photos of others.
To learn more about how to take better photos, check out our article: 5 Tips To Improve Your Photography Skills On A Smartphone.
Do I Need A Tripod?
This is one question that everyone wants to know. While a tripod may not be necessary all the time, it can prove to be extremely useful.
It helps you keep your camera steady while taking pictures at slow shutter speeds. If you're shooting landscapes or other stationary subjects, then a tripod can make a big difference.
However, using a tripod to photograph moving subjects like people or sports can result in blurriness. How do you decide which situations are best served by a tripod.
A tripod is an essential tool for photographing fast-moving subjects or stationary objects. Examples include:
-
Sports
-
People
-
Landscapes
-
Close-ups
-
Macro shots
Try this test to find out if you really need a tripod. Look through the viewfinder with your camera steady. You will need a tripod if you see blurred lines and movement.
If you don’t see blurring, adding a tripod is unlikely to make any difference.
However, if you do decide to invest in a tripod, here are some tips to keep in mind.
-
Smooth legs are important for tripods. This helps to prevent vibrations from shaking the camera.
-
Make sure you choose a sturdy tripod. Some tripods may be made from plastic, which can make them less durable. Look for a metal tripod instead.
-
Buy a remote release. This lets you control your camera remotely. It can automatically fire the shutter when you press the button.
-
Make sure to look for a tripod that rotates 360 degrees. This makes it easier for you to position your camera horizontally, or vertically.
-
Keep in mind that tripods aren't cheap. Expect to pay $100-200. However, you'll get a lot of value for your money.
-
Don't forget accessories such as memory cards or filters.
-
Before buying online, check with your local store. Many retailers offer free shipping.
-
You can read customer reviews to see what people think of a product.
-
Ask your family members and friends to recommend similar products.
-
To learn more about customer experiences, you can visit forums and message board.
-
User reviews can be found online.
-
Amazon.com is a website that allows you to compare prices and get customer feedback.
-
View photo galleries to see the different uses of tripods by photographers.
What camera is the best for beginners, and why?
The best camera to use for beginners is dependent on your needs, budget, and skill level.
You might consider a point-and shoot digital camera if you are trying to save money. These cameras offer good quality but aren't very versatile.
Digital Single Lens Reflex cameras come with interchangeable lenses which allow you to capture different types of images. While they are more expensive than point and shoots, they offer much more flexibility.
For beginners to photography, the beginner's set is a great place for you to start. All you need is included in this package: a camera body and lens, flash, memory card, tripod and flash.
Do not forget to get extra batteries!
Statistics
- In this case, 100% of readers who voted found the article helpful, earning it our reader-approved status. (wikihow.com)
- That's the easiest way to get blurry photos 100% of the time. (photographylife.com)
- This article received 13 testimonials, and 100% of readers who voted found it helpful, earning it our reader-approved status. (wikihow.com)
- Get 40% off Adobe Creative Cloud(opens in new tab) (creativebloq.com)
External Links
How To
How to take pictures in low lighting conditions
Low-light Photography is when you take photos in dimly lit or dark environments. It requires special equipment. The main challenges are controlling exposure, white-balance, and sharpness. Two types of low-light photography exist: ambient or flash. Flash photography is best when there is enough light. You will need a flash if you don't have enough natural light. Without a flash, it is possible to get a poor picture if the subject is indoors and not outdoors. A flash is not necessary if you aren't interested in shooting at night with the moonlit hours. You'll be able to capture beautiful colors and shadows this way. Another option is shooting at twilight. Twilight occurs when the sun has set, but there is still daylight left.
Also, you might want to try long exposures. Long exposures allow you to record images after the shutter has been open for several minutes. The camera records only light that falls on it if the shutter is not closed. The light that falls onto the sensor during a long exposure continues to be recorded. However, because the shutter remained shut, no new light enters the lens. Therefore, there is very little movement. To ensure clear images, disable any autofocus and exposure settings. Adjust the ISO setting before you start to shoot. An ISO setting of 200 will give you more control over the brightness or darkness of your image. The shutter button should be pressed quickly when you are ready to take the photo. This will bring the shutter completely to a close. Hold the shutter button down for the final second. To prevent additional light entering the camera, hold the shutter button down. After you've taken the picture, wait a few seconds before releasing the shutter button. This allows the camera time to process the photo. While you wait, your photos will be displayed on your computer's screen. Once you're satisfied with them, save them to your computer.