
The Canon R6 can be a great camera. It produces excellent images, but it is large and bulky. The magnesium alloy body has tactile rubber bits that allow your hands to rest on the surface. The camera is also large, slightly heavier than the Sony A7 IV and 15% larger. The camera is built very well and it has excellent moisture and dust resistance.
Autofocus performance
The new Autofocus System in the Canon R6 makes it much more capable of focusing on your subject. This autofocus system is now more advanced than the R5, and uses the DIGIC X faster image processor. It also has the ability to capture birds and other subject and can focus at low lighting levels as low -6.5 EV. For easy navigation, the Canon R6 comes with a 3-inch touchscreen.
Even if you are a complete beginner, the Canon R6's autofocus system is very impressive. The mirrorless design of the Canon R6 allows it to shoot videos. The Sony A9 II's AF system can be impressive, but the Canon R6's autofocus performance has a better result. While it has difficulty focusing on close subjects, it does a good job when the subject is in full frame and backlit.
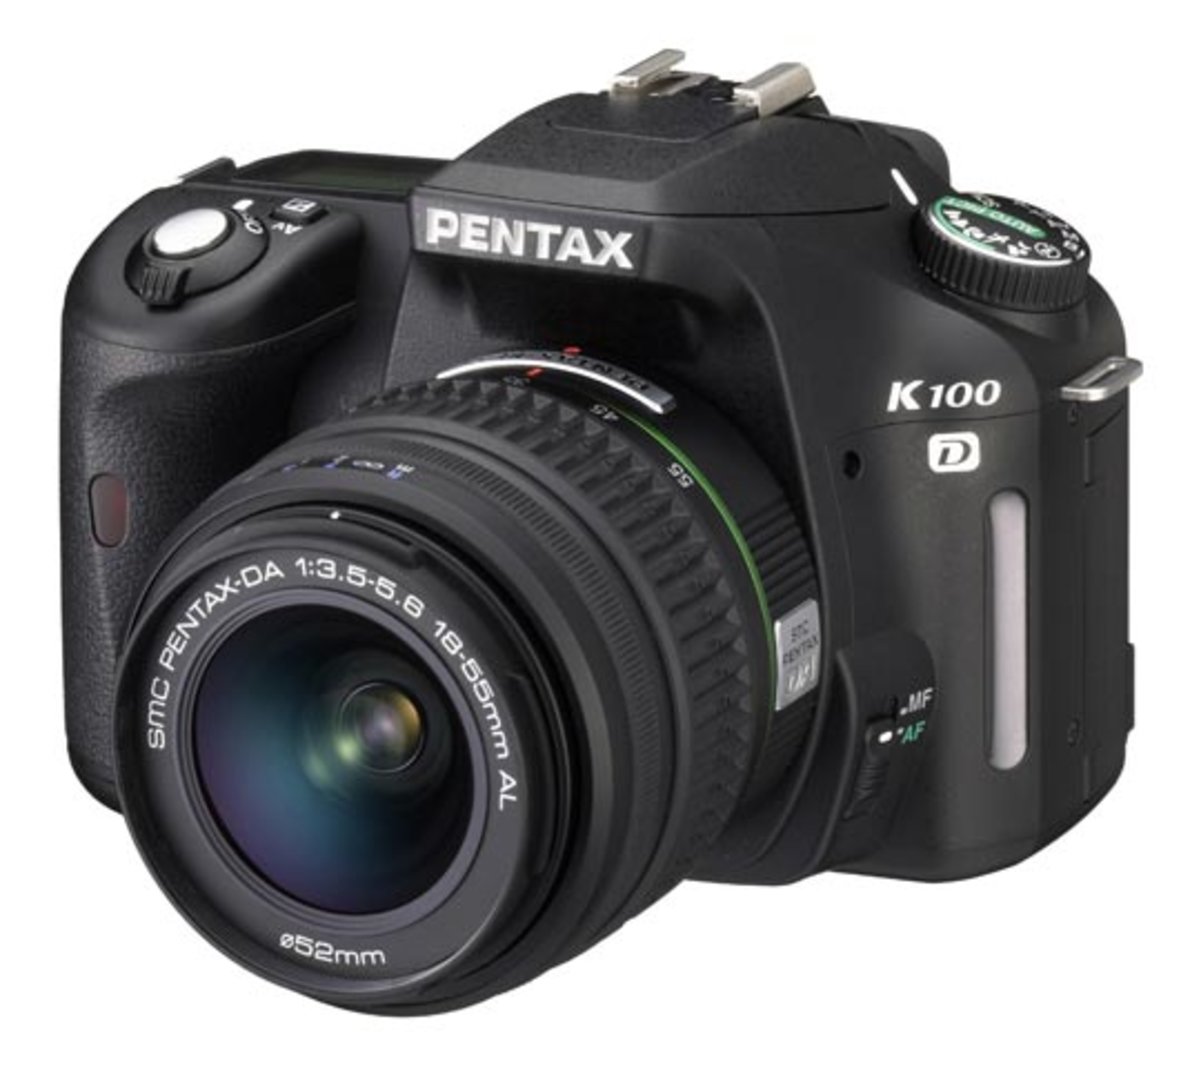
Image stabilisation
The Canon R6 boasts a new IBIS tech that is increasing in popularity. This system is built into the camera's sensor, and adjusts the amount of shake in the video. The IBIS can be adjusted to adjust for shake in particular frames. The Canon R6 also features 10 RF lenses. Canon's stabilisation is adjustable depending on the focal length. It can reach 6-8 stops, or even 8 depending on the focal length.
Another problem is the rotation of the camera's sensor when using an EF to RF converter. You can fix this problem by pressing the shutter button half-press and setting IBIS to "for shot only" mode. The Canon R6 has an in-body stabilisation system with a firmware version of 1.2.0 or 1.3.0. Both modes cannot be used in the same session.
Sensor size
The sensor size for the Canon R6 is 20.1 Megapixels. It is lower than other cameras in its price bracket, but still provides excellent image quality. This sensor also features a large dynamic range and fast readout speeds. However, its size makes it more expensive than its rivals. Weighing more than one pound, the Canon R6's sensor is not recommended for beginners.
The Canon R6's sensor measures the same as a 35mm film with a 1.0 Crop Factor. This means that 4K video can be shot at the same angle as a 35mm film, but with a 1.0 crop factor. This is a big improvement. Even with the crop factor you will still be limited by what lens you use with your Canon R6.
Price
The Canon R6 will become available in July 2020 at a cost of $2,499 including the kit lens and body. Both lenses are designed to be used in combination with the R6. The R6 has a large grip and tactile rubber bits at the sides of the camera that allow you to rest your hands. It also features a magnesium alloy structure. Although it is slightly heavier and heavier than the Sony A7 IV's, its solid construction provides full dust and water resistance.
It's a full frame camera with a 20MP sensor. It is suitable for both professional photographers and hobbyists who wish to experiment with photography. The R6's HEIF capture mode doubles the amount information in an image. HEIF can be saved in the same file sizes as JPEG, but it isn't supported widely by most software. Adobe and Capture One don't support it. It is an emerging format, and it may gain wider acceptance in the future.
FAQ
What is the rule or thirds?
The rule-of-thirds is a simple way to create interesting compositions using no complicated camera settings. It divides your photo into nine equal parts horizontally as well vertically. This creates three main areas where you want your subject to appear. These are the top (upper left corner), middle (center) and bottom (lower right). These areas can be used as guidelines for positioning your subject within the frame.
The rule of Thirds helps you avoid placing crucial elements too close together. If you place them near each other, they may not have enough space between them to make a strong visual impact. They may lose focus if they're too far apart.
How do I learn to take photos on my own?
There are many methods to learn how you can take amazing photos. You have many options. You could purchase a book or attend a class. Or you could join an online group. But if you want to master the art of taking pictures, there's nothing better than doing it yourself! You have full control over the final product. You will continue to learn and improve, so long as you are willing to keep learning.
One of the best aspects about digital photography is that it doesn't require any expensive equipment. All you need is a computer with internet access and a camera. The rest is up to you.
Here are some ways to get started.
-
Familiarize yourself with the manual settings for your camera.
-
Learn how to use the controls.
-
Take lots of photos.
-
These should be edited.
-
These should be shared.
-
Keep practicing.
-
Experiment.
-
Take a look at the world from different perspectives.
-
Use light sources creatively.
-
Practice makes perfect.
-
Be willing to fail.
-
Be patient.
-
Have fun
What camera is best for beginners and what are the pros and cons?
The best camera choice for beginners is determined by your budget, skills, and needs.
You might consider a point-and shoot digital camera if you are trying to save money. These cameras have a good quality, but they are not very versatile.
Digital Single Lens Reflex cameras come with interchangeable lenses which allow you to capture different types of images. These cameras are generally more expensive that point-and clicks, but provide greater flexibility.
A beginner's kit is the best place to begin if you are new to photography. Everything you will need, including a tripod, flash, memory cards and lens, can be found in one package.
Make sure to purchase extra batteries.
Cameras: Where to Buy?
There are many online places where you can purchase cameras. However, we recommend buying from a reputable retailer like B&H Photo Video. They are able to assist you with any questions.
B&H ships fast and securely so it is easy to have your order delivered at your doorstep.
This video will help you learn more about buying cameras.
Light Room can enhance your photos.
You can get great photos if you start early. It's always a good idea to take as many pictures as possible and then decide which ones will be the most valuable.
Lightroom makes it easy to do this. It lets you see how different settings impact each photo. You can adjust these settings instantly without returning to Photoshop. This allows you quick experimentation to see what looks best and what doesn’t.
Statistics
- Get 40% off Adobe Creative Cloud(opens in new tab) (creativebloq.com)
- That's the easiest way to get blurry photos 100% of the time. (photographylife.com)
- The second easiest way to get blurry photos 100% of the time is to use a cheap filter on the front of your lens. (photographylife.com)
- While I cannot prove that all of those spots were not sensor dust, the photo was taken during a heavy snowstorm…so I guess that 99.8% of the spots are snowflakes. (bhphotovideo.com)
External Links
How To
How to photograph in low light conditions
Low-light Photography is when you take photos in dimly lit or dark environments. This requires special equipment and techniques. The key challenges are in controlling exposure, white balanced, and sharpness. Low light photography can be divided into two categories: ambient and flash. Flash photography works best when there is enough lighting around. But if there isn't enough natural light, then you'll have to use a flash. Without a flash, it is possible to get a poor picture if the subject is indoors and not outdoors. Try shooting at night, during the moonlit hours, if you don't need a flash. This will allow you to get nice shadows and colors. Another option is to capture at twilight. Twilight occurs when the sun has set, but there is still daylight left.
You may also want to experiment with long exposures. Long exposures let you capture images even after the shutter has been open several minutes. If the shutter is closed, the camera records only the light that falls onto the sensor. This light continues to fall onto a photo sensor throughout a prolonged exposure. The shutter is still closed so no light can enter the lens. This means that you will not see any movement. To ensure clear images, disable any autofocus and exposure settings. Make sure to adjust the ISO setting before starting to shoot. An ISO setting of 200 gives you more flexibility to control how bright or dark your image looks. The shutter button should be pressed quickly when you are ready to take the photo. The shutter will close completely. You should then hold down the shutter button for as long as possible. The shutter button should be held down to prevent more light from entering the camera. Once you take the shot, wait a while before you release the shutter. This allows your camera to process the picture. While you wait, your photos will be displayed on your computer's screen. When you are happy with your photos, save them to the computer.