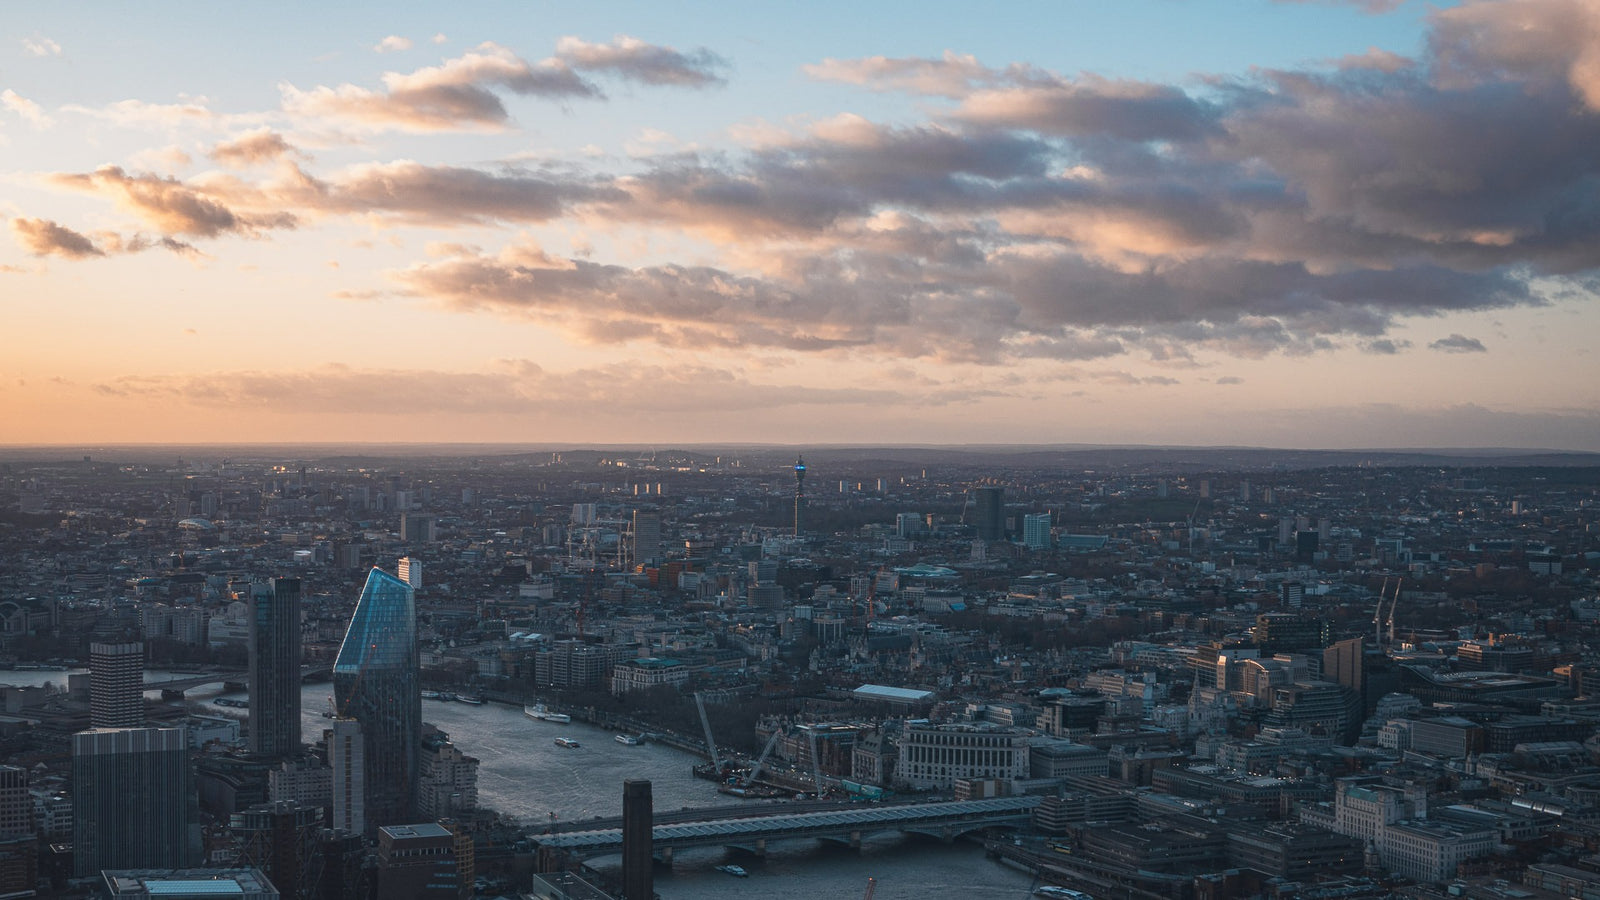
A vantage point is an important aspect of photographing cityscapes. These are typically places where the skyline is unobstructed by buildings and other objects. Once you have chosen a vantage point you will need to decide where the cityscape should be placed within the frame and how much space to leave at the sides. You'll also want to keep in mind reflections and people. Depending on the cityscape you're shooting, these factors will determine the outcome of the final image.
Wide-angle lens
It is best to photograph cityscapes before sunset or sunrise. This is when the light and shadows are at their best. Wide-angle lenses are excellent for creating distortion effects that turn mountains into molehills. Wide-angle lenses can make foreground objects seem larger and more interesting. These lenses can also prove difficult to use properly for other purposes, like portraits and wildlife photographs.
Long shutter speed
A large number of people enjoy shooting cityscapes. They aren't familiar with the techniques. Firstly, cityscape photography requires patience and a good amount of research to ensure a successful result. Arrive at your location early, as you don't want to rush through the crowds. Find the best angle from different vantage points. Your viewers will be able to follow your compositional rules like the rule of threes.
Reflections
You have many creative options to include reflections in your photos of cityscapes. Reflective props are a great way to create interesting compositions and add depth to your photograph. It's better to use a small reflective object, since it gives you greater control over its position. Broken mirrors, for example, are great for creative portraits and can be used to create a sense of mystery. You can enhance the aesthetic appeal of your cityscape photos by using these methods.
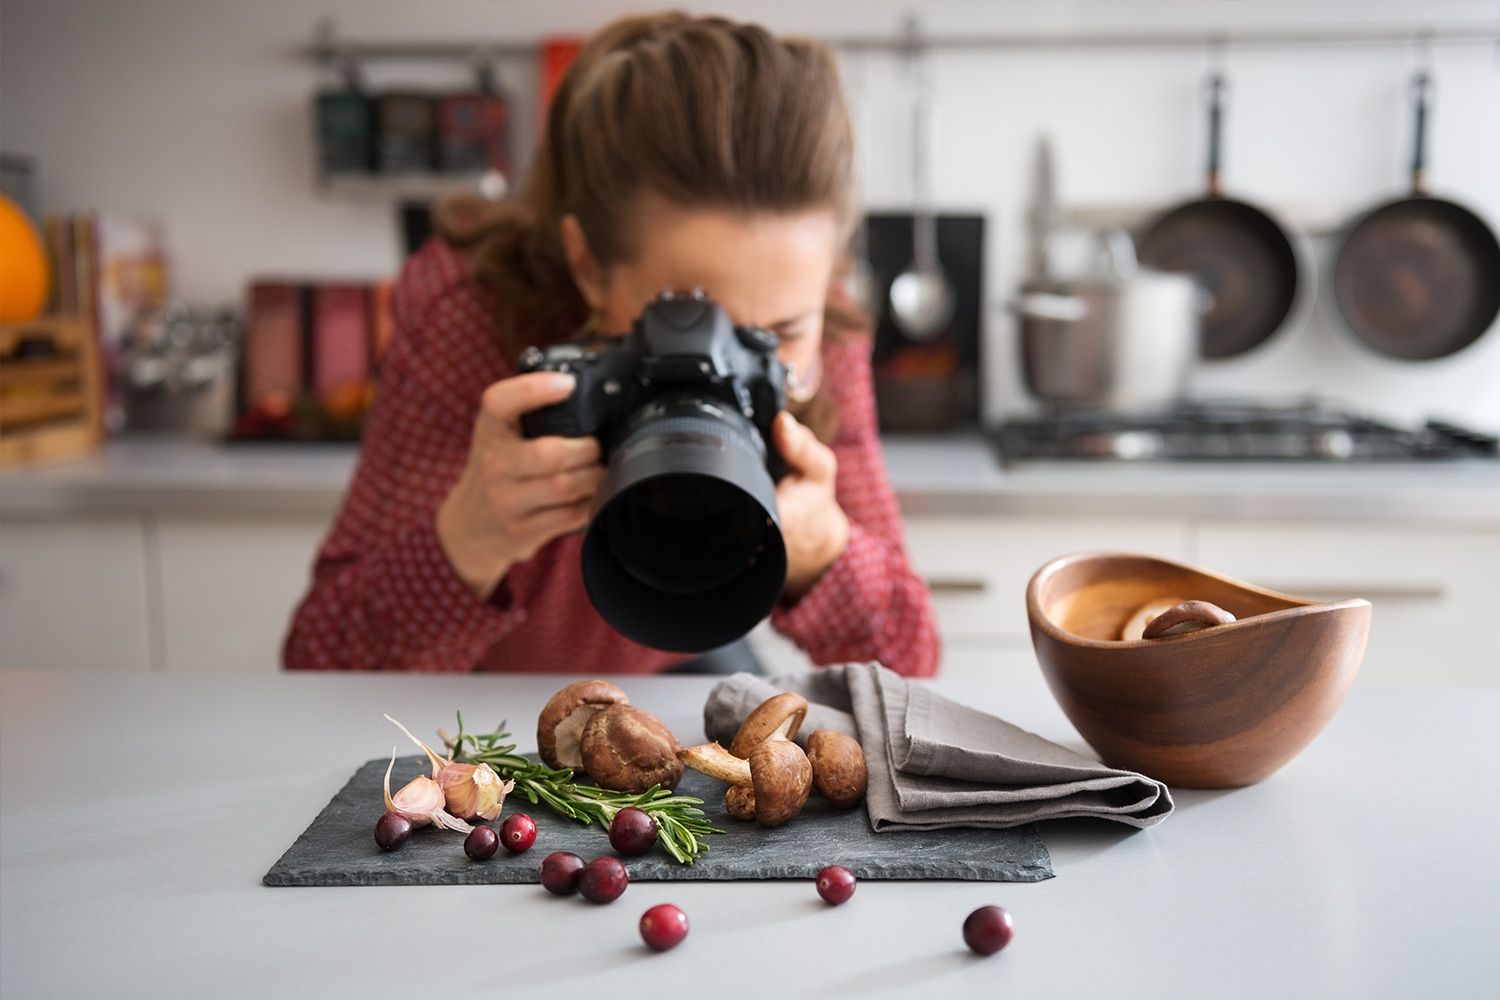
People
The use of a great background is key to capturing people in cityscape photos. A background that is interesting enough to prevent your subject from becoming lost when you are shooting in a busy place like a city should be used. You can add a person to any cityscape photo, whether it's a pedestrian on the street or an adventurous traveler. Ideal shutter speeds for this type of photograph are between 3 and 6 seconds. A strong neutral density filter is recommended as too much light will be allowed to enter the camera's shutter speed. It is important to time your photography of cityscapes with peak rush hour times.
Planning
There are several important things to remember when planning your cityscape photography. First, you must choose a skyline that is unobstructed. If you are planning to photograph the Empire State Building, you will need a good vantage position from which you can see the city's skyline. You can use Google Street View to scout locations. Your Photographer's Ephemeris will then be used to plan your lighting.
FAQ
How can I learn how to photograph on my own.
There are many options for learning how to take great photographs. You could buy a book, attend a class, join an online community, watch YouTube tutorials, etc. There's no better way to learn the art of photography than by doing it yourself. By doing it yourself, you are in complete control of what goes into each shot. You'll only get better as long as your learning continues.
One of the best aspects about digital photography is that it doesn't require any expensive equipment. All you need is an internet connected computer and a camera. The rest is up for you.
Here are some tips for getting started:
-
Make sure you are familiar with your camera’s manual settings.
-
Learn how to use the controls.
-
Take many photos.
-
Edit them.
-
Please share them.
-
Keep practicing.
-
Experiment.
-
Consider different angles and perspectives.
-
Use light sources creatively.
-
Practice makes perfect.
-
Never be afraid to fail.
-
Be patient.
-
Have fun
How can I be a great photographer?
Photography is an art form that requires practice, patience, dedication, and above all else, passion. If you love photography, you'll be doing better than if only you were going after the money.
It is essential to understand how to use your camera effectively. You must understand composition, lighting, exposure, depth of field, etc. Also, you will need to be able to use Photoshop.
Although photography is difficult, once you are proficient, it is rewarding to create images that capture moments in the moment that will never be forgotten.
You can learn more by reading books, taking classes, or participating in competitions if you are looking to improve your skills. You will gain confidence and experience, which can lead to improvements. What equipment do you need?
It all depends on the type of photography that you are interested in. If you are interested landscape photography, you will need to have a wide-angle zoom lens.
A telephoto lens is essential for portrait photography.
A tripod is essential when taking photographs. A tripod allows you to stand still and compose your photograph without having to move.
A camera bag is useful for carrying your camera, memory cards, and other accessories.
If you use a compact camera, a flash unit is required.
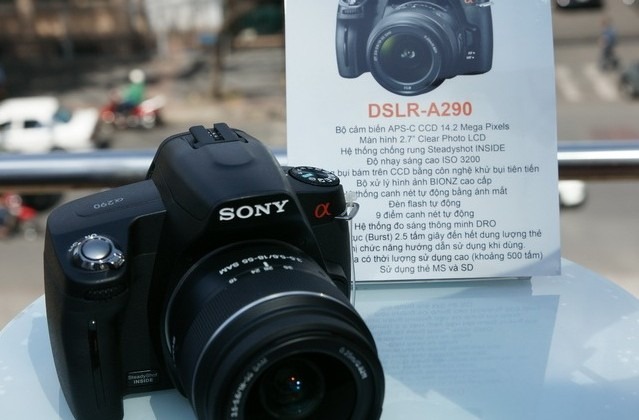
A DSLR (Digital Single Lens Reflex) camera is by far the best choice for beginners who want to take professional quality photos.
DSLRs are very popular as they let you control all aspects of your photos, such as shutter speed, aperture and ISO sensitivity. They also provide a range of features such as autofocus, auto-exposure lock, self-timer, bracketing, and RAW format.
What equipment do I need to get started in digital photography?
When you start out in digital photography, the first thing to consider is which type of camera you will use. There are many options: DSLRs (digital Single Lens Reflex Cameras), point-and–shoot compact cameras or camcorders. Each has its own benefits and features. DSLR cameras are more expensive and weigh more than other types of cameras. Point-and-shoot cameras tend to be smaller and lighter, and may have automatic settings for specific situations. Camcorders provide excellent video recording capabilities and may also feature still photo shooting modes. Smartphones are lightweight, portable, and light. They offer excellent image quality, advanced features, such as GPS mapping, music playingback, and Internet browsing.
Once you've decided on the type of camera you'd like to buy, you will need to decide whether you would rather buy a used or new one. If the camera was purchased in the past few years, it is possible to find used cameras at reasonable prices. Because manufacturers invest large sums of money in developing new technology, new models tend to be more expensive.
Next, purchase lenses. Lenses are crucial in determining the quality and appearance of your photos. You can adjust the focal length of the lens to allow you to zoom in on the scene without losing focus. Some lenses come with built-in flash units while others need external flash units. There is a wide selection of lenses available from different brands. Each lens has its own characteristics.
Finally, you will need to invest in memory cards. Memory cards store pictures taken by your camera. It can hold hundreds to thousands of photos, depending on how big your card is. Multiplying your memory cards is necessary if you are going to be taking lots of photos.
Statistics
- The second easiest way to get blurry photos 100% of the time is to use a cheap filter on the front of your lens. (photographylife.com)
- This article received 13 testimonials, and 100% of readers who voted found it helpful, earning it our reader-approved status. (wikihow.com)
- In this case, 100% of readers who voted found the article helpful, earning it our reader-approved status. (wikihow.com)
- That's the easiest way to get blurry photos 100% of the time. (photographylife.com)
External Links
How To
How to Use Lightroom in Photography
Adobe Lightroom is a powerful tool for photographers who want to edit photos quickly and easily. It allows you upload your images to one place that can be viewed as well as edited, cropped, liten, and saved. You can also email, print, and share your images online.
Lightroom offers editing tools such as cropping, adjusting brightness and contrast, color balance and color balance. It also includes presets that allow you to apply common effects like vignette and lens distortion correction. This is the best thing about Lightroom: these adjustments are automatically applied when you export your images.
Adobe Bridge is a way to access Lightroom. It lets you organize files and view thumbnails all while browsing your collection. To find images later, you can add keywords to them.
Lightroom is free for those who are just starting out. This includes all of the basic features. There are two options available if you choose to upgrade. You can either purchase the full version right away or subscribe.
There are several ways to download Lightroom. One option is to purchase the software directly from Adobe. You can also download the trial version to convert it into a paid license. Here's how to do that.
-
Lightroom Trial Version
-
Launch the program. Click "Convert to License" in the bottom right corner.
-
Choose the type of license you want (one year or perpetual) and enter your payment details.
-
To finish the process, click on "Continue".
-
Once you have converted the trial version to a paid license, you can continue using it until the end of the term.