
Photography with a drone is a fantastic way to capture breathtaking scenery and get the most from your experience. There are many drone models on offer, but there will be some features that you should keep in mind. These include the sensor dimension, AEB mode and Tripod modes, as well as the rule of threes.
Rule of thirds
The Rule of Thirds can be used to create dynamic compositions. It is one of the most well-known photographic techniques. It can be used in both post-production and while taking photos.
You can apply the rule of threes to drone photography. This is especially important considering that most drone photos depict landscapes and urbanscapes. The rule of Thirds helps ensure that the photo is balanced.
The rule of Thirds divides an image into nine equal quadrants. It uses two horizontal lines as well as two vertical ones. The horizontal line runs a third through the photo. The vertical lines run a second-third through the photo.
Color temperature
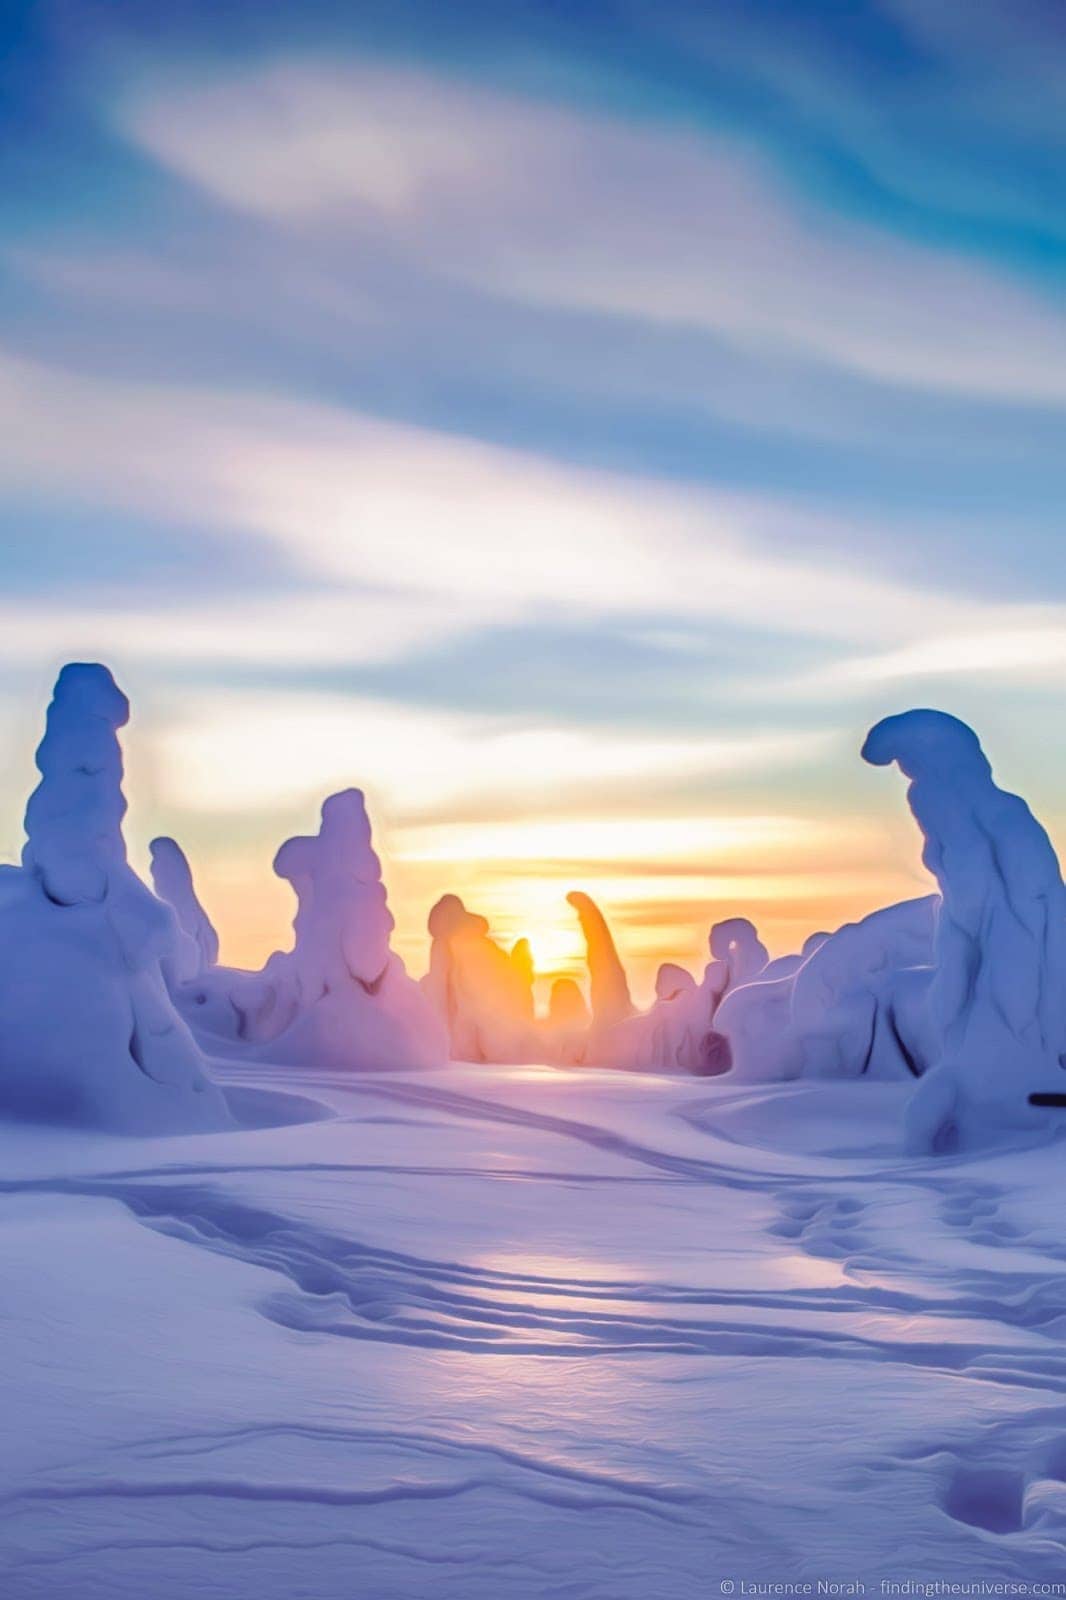
The key to making drone photos stand out is using the right color temperature. In order to express emotions in your images, you can use the right color temperature. It is important for you to know that color temperatures are a function weather conditions and the time it is being taken.
Warm lighting, for example, can quickly change depending on whether the sun rises or sets. Cool lighting is usually present between one hour after sunrise and one hour before sunset.
You will need to plan your photography shoots in order to determine the best color temperature for your photos. Also, you will need to consider the field of view of your drone. You should space your photos approximately 25 to 30 degrees apart. This spacing is ideal because images that overlap can create a messy look.
Sensor size
A good knowledge of how to select the correct camera sensor size is a great tool for getting better photos. A larger image sensor can help you capture more light and create better images.
Larger sensors offer many benefits, including higher resolution, higher dynamic range, and lower noise levels. It is important to take into account the size of a camera sensor when trying to capture images in low-light conditions.
There are many choices when it comes to cameras. A smaller sensor might be better if you are just starting out. A larger image sensor is better for experienced photographers.
AEB mode
This mode allows you to capture great drone photos. It allows you to capture multiple exposures of the same scene and then blend them together in HDR software. You also have greater control of the final image.
AEB is commonly used by landscape photographers as well as real estate photographers and aerial photographer. It is also used extensively in social media.
You must know how to expose your camera properly. This includes shutter speed, ISO and aperture. An ND filter can also be used to reduce the glare of light from reflective surfaces. This is especially important if you are shooting in low light.
Tripod mode
A Tripod mode for your DJI drone allows you to create smooth cinematic footage and gives you greater control over your drone. This intelligent mode lets you change the angle of your flight without needing to use your remote controller. It can also help you avoid obstacles. This mode can be used indoors or to capture exterior buildings.
The DJI Mavic 2 has an intelligent flight mode called Tripod mode. This mode works exactly like a normal P Mode, but it reduces your maximum flight speed. Tripod Mode allows you to fly your drone at one meter per sec. To change the angle, use the DJI application
Sharing your work via social media
The process of getting a drone isn’t easy. Apart from the obvious difficulties, you will need to find a suitable place. There are many cool AF communities. It's half the battle to get lucky and meet the right people. This is a great way of making new friends and learning new tricks. You'll discover that you are also getting a great workout. So if you're in the market for a new hobby, consider a drone.
You don't just have to fly your drone, there are many other aspects to it. Make sure you plan ahead.
FAQ
Should I begin photography as a hobby.
Photography is a great way of capturing memories and sharing them with loved ones. You can also learn about the world around your camera.
If you are interested in learning how to take better pictures, there are plenty of resources available online to help you do just that.
You might also consider enrolling in classes at nearby community colleges or art schools. This allows you to meet other photographers who can provide valuable feedback on your work.
What equipment is required to start digital photography?
First, you need to decide what type of camera is best for you when you first start digital photography. There are many choices, including DSLRs (digital one-lens reflex cameras), point and shoot compact cameras, camcorders, smartphones, and camcorders. Each has its own benefits and features. DSLR cameras, however, are larger and heavier than most other types of cameras. Point-and–shoot cameras can be smaller and lighter than DSLR cameras, and they often have automatic settings that allow for special situations. Camcorders can record excellent video and have some still photography modes. Smartphones can be small and lightweight and are easy to transport.
Once you've chosen the type of camera that you want, you can decide whether to purchase a used or new model. Used cameras can be found at reasonable prices, especially if they were purchased within the last few years. Newer models usually cost more as manufacturers invest large amounts of money to develop new technology.
Next, you'll need to buy lenses. The quality of your photos is directly affected by the lens. They enable you to adjust the focal length of the lens so that you can zoom into the scene with no loss of focus. Some lenses have built-in flash units, while others require external flash units. There are many brands offering a variety of lenses. Each brand has their own distinctive characteristics.
Finally, you will need to invest in memory cards. Memory cards can store pictures that were taken with your digital camera. It can hold hundreds to thousands of photos, depending on how big your card is. If you plan to shoot lots of pictures, you will need multiple memory cards.
What Lenses Should I Use
Most beginners will ask this question: "Which lens should I buy?" It's a tough decision since there are so many options available.
There is good news: You don't need to buy new lenses every time you buy a new camera. Instead, you can buy additional lenses later.
For starters, here are three types of lenses you might want to consider.
-
Wide Angle Lens (14mm-24mm): These lenses offer a wide field of view that allows you to capture more detail. You can zoom in to improve image quality.
-
Normal/Standard Zoom Lens (28mm to 70mm) : These lenses allow you the flexibility of changing focal lengths, while still maintaining high quality images.
-
Telephoto Zoom Lens (70mm-200mm): These lenses can be used to capture distant subjects. These lenses allow you to focus on your subject, even though they may appear small in the frame.
Combining lenses can create different effects. One example is to use a regular lens to photograph close-up details and then switch to a long-range lens to capture faraway objects.
Light Room is a great way to enhance your photos.
The best way to ensure you have the perfect photos for your project is to start early. It's better to take as much as possible, then select the best.
This is possible because Lightroom lets you see how different settings affect each image. These settings can be adjusted on the fly without having to go back into Photoshop. This allows you to quickly test what looks great and what does not.
Statistics
- This article received 13 testimonials, and 100% of readers who voted found it helpful, earning it our reader-approved status. (wikihow.com)
- The second easiest way to get blurry photos 100% of the time is to use a cheap filter on the front of your lens. (photographylife.com)
- That's the easiest way to get blurry photos 100% of the time. (photographylife.com)
- While I cannot prove that all of those spots were not sensor dust, the photo was taken during a heavy snowstorm…so I guess that 99.8% of the spots are snowflakes. (bhphotovideo.com)
External Links
How To
How to take macro photos in photography
Macro photography is the ability to capture small objects, such as insects and flowers, at close range. Macro is a Greek term that means large. If your lens has a focal distance greater than 50mm you can photograph objects that are extremely close up.
A good macro lens must have a long work distance and a fast aperture so that sharp images can be captured without having to move around. Because of the possibility of blurring your image from movement, you should avoid taking photos while moving.
Here are some great tips to create stunning macro photographs.
-
Use a tripod. You can use a tripod if you don't own one. This will make it less likely that you are moving when shooting.
-
The right lighting is important. You can get a macro lens with built-in lights filters. However, if you don’t have one, you can purchase one. This helps prevent overexposure.
-
Be patient! Shooting macros takes practice. Sometimes, you may only be able to see a small bug or flower. But it's worth the effort to keep taking pictures until you get it.
-
Shoot in RAW format. RAW files have more data than JPEGs. They can store more detail. RAW files allow you to make changes such as cropping, color correction and other adjustments later.
-
Don't forget the background. Even though you've got a nice foreground object, sometimes the background adds interest to your shot. You should include it in any photo.
-
Keep learning.